 Bellingham Siding
 New-Construction Windows for Columbia, Bellingham
Columbia is one of Bellingham's older, established neighborhoods, which means new-construction window work here shows up in a few different forms: a full teardown-and-rebuild, an addition with a new roofline, a garage conversion, or a from-scratch infill build on one of the neighborhood's remaining lots. In every case, "new-construction" windows means something specific in the trade — the window unit is installed into open framing before siding, house wrap, and finish trim go on, using a nailing flange set directly to the sheathing. That's different from a replacement window, which gets fit into an existing opening with the old frame still in place. Getting the distinction right at the estimate stage matters, because the flashing sequence, the products available, and the labor involved are not the same job.
Bellingham sits close enough to Bellingham Bay and the Salish Sea that salt-laden air is a real factor for exterior materials, and Whatcom County's weather pattern — long stretches of driving rain from fall through spring, plus a moss season that can run several months — puts real stress on any window opening that isn't flashed and sealed correctly the first time. New construction is actually the best moment to get this right, because the wall is open and every layer is visible and correctable. Once siding goes on, mistakes in window flashing are hidden until they show up as rot, staining, or a soft spot in the wall years later.
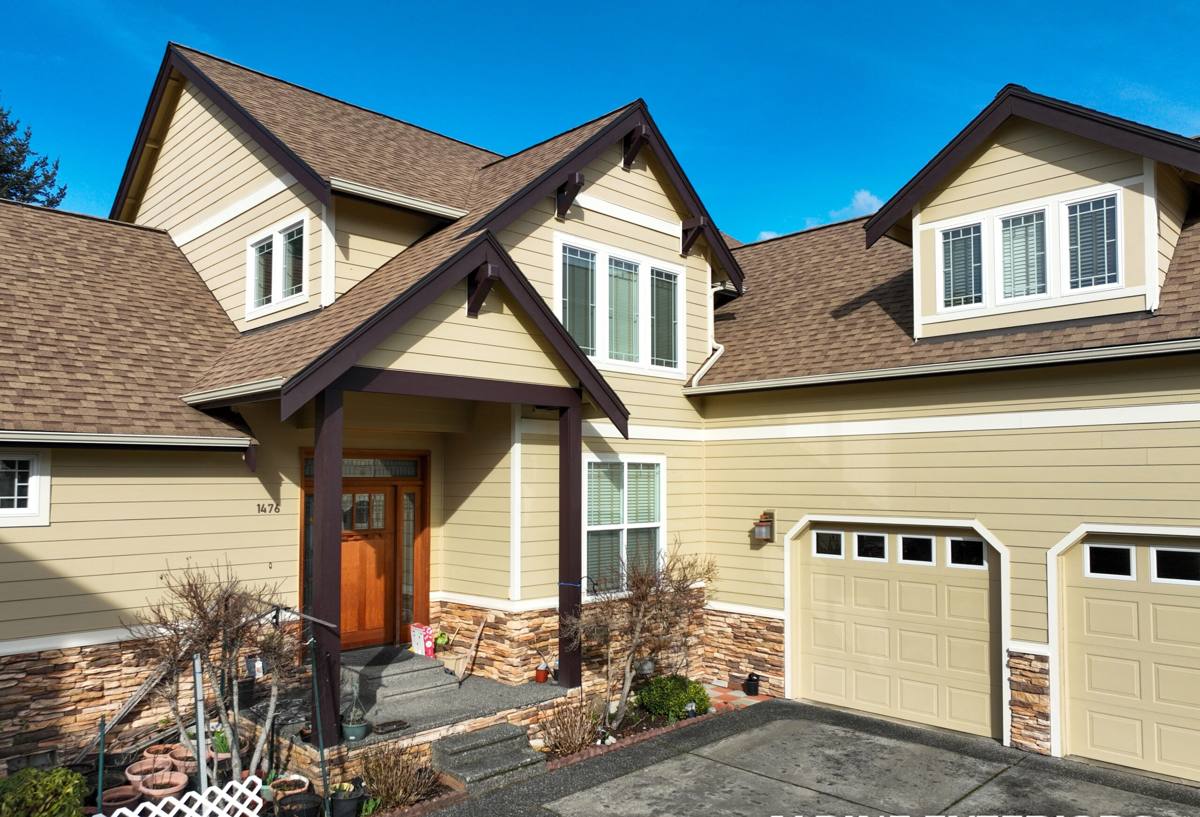
What Columbia-Area Homes Need From New-Construction Windows
Most of the new-construction and addition work we see in Columbia falls into a few categories, and each one has slightly different window needs:
- Additions and second-story pop-tops on older Columbia homes, where new window openings need to tie into an existing roofline and existing siding without creating a mismatched look or a flashing conflict where old and new construction meet.
- Garage-to-living-space conversions, which often call for larger window openings than the original structure had, meaning new header sizing and a full new rough opening rather than a simple swap.
- Ground-up infill builds on smaller Columbia lots, where the whole building envelope is new and there's no old work to match — the main job is doing the flashing and window selection right the first time.
Across all three, the shared local concern is moisture. Whatcom County gets a lot of sustained, wind-driven rain rather than short heavy downpours, which pushes water sideways against a wall for hours or days at a time. A window opening that relies on caulk alone, instead of a proper shingle-lap flashing sequence, will eventually let water in during that kind of weather. The other local factor is moss and organic growth — north-facing walls and window sills in shaded Columbia yards stay damp longer, which accelerates wood rot around any opening that isn't detailed with drainage in mind.
Salt Air and Material Choices
Being a few miles from saltwater doesn't turn Bellingham into a harsh marine environment the way a beachfront property is, but it's enough that we pay attention to hardware and finish quality on new-construction windows. Cheap cladding, weak fastener coatings, and low-grade weatherstripping degrade faster here than they would inland. We don't push homeowners toward the most expensive option on the shelf, but we do steer away from window lines with a track record of premature seal failure or finish breakdown in coastal Northwest conditions, because a callback on a window buried inside finished siding is expensive to fix for everyone.
What a Correct New-Construction Window Installation Involves
New-construction window installation is a sequencing job as much as it's a carpentry job. The order of operations is what keeps water out for the life of the house:
- Rough opening check. Framers size the opening; we verify it's square, plumb, and sized correctly for the window unit before anything else happens.
- House wrap and window flashing tape. The weather-resistive barrier goes on first, then flashing tape is applied to the sill and jambs in a specific shingle-lap order so every layer sheds water onto the layer below it, never up into the wall.
- Sill pan installation. A sloped sill pan under the window gives any water that does get past the glazing a path back outside instead of into the framing — this is one of the details that separates a durable install from one that rots out in ten years.
- Setting the window and fastening the flange. The unit is set into the opening, shimmed level and plumb, and the nailing flange is fastened per the manufacturer's schedule — skipping fasteners or using the wrong ones is a common shortcut that shows up later as a loose or leaking unit.
- Head flashing and final wrap integration. The top flashing goes on last, lapped over the house wrap so water draining down the wall face never meets a seam that points inward.
- Interior air-sealing. Low-expansion foam or backer rod and sealant around the interior perimeter closes off the gap between the frame and rough opening for both energy performance and moisture control.
Every one of those steps has to happen in order. Skipping the sill pan, taping out of sequence, or relying on caulk instead of a proper flashing lap are the most common causes of window-related water damage we get called out to diagnose in older Bellingham-area remodels — and they're avoidable entirely when the window goes in correctly the first time.
Our Process on Columbia Jobs
Because we already work regularly in Columbia and the surrounding Bellingham neighborhoods, we're familiar with the mix of older framing and newer additions common in the area, and we coordinate directly with general contractors or framers already on-site rather than needing everything explained from scratch. Our process on a new-construction window job typically runs:
- On-site walkthrough of rough openings before window order, to catch sizing or header issues while they're still cheap to fix
- Window selection guidance based on orientation, exposure, and budget — a north-facing wall in a shaded yard has different priorities than a south-facing wall that takes direct weather
- Coordination with the framing or house-wrap timeline so windows go in at the right point in the build sequence, not before the wall is ready or after siding has already started
- Full flashing and sill pan installation per manufacturer specification, not a shortcut version
- Final walkthrough with photos of the flashing work before it's covered by siding, since that's the one point in the project where the work is fully visible
Comparing Window Approaches for New Construction
| Factor | Vinyl New-Construction | Fiberglass New-Construction | Wood/Clad New-Construction |
|---|---|---|---|
| Upfront cost | Lowest | Mid-range | Highest |
| Moisture tolerance | Good if flashed correctly | Very good; dimensionally stable | Good with clad exterior; interior wood needs care |
| Maintenance | Low | Low | Higher on any exposed wood surfaces |
| Typical use case | Additions, budget-conscious infill | Full rebuilds, higher-exposure walls | Character-driven infill matching older Columbia homes |
| Local fit | Solid mid-market choice | Strong for salt-air, high-rain exposure | Best where matching an existing older home's look matters |
None of these is a wrong answer on its own — the right pick depends on the wall's exposure, the rest of the home's exterior, and the budget for the project. What matters more than brand is installation quality, which is why we spend more time talking through flashing detail than window brand during an estimate.
A Practical Checklist Before Your Windows Go In
- Confirm rough openings are framed to the exact window schedule, not "close enough"
- Verify house wrap is installed and lapped correctly before window flashing begins
- Ask whether sill pans are included in the install — some lower bids skip this step
- Confirm the flashing sequence will be photographed before siding covers it
- Check that window selection accounts for the wall's sun and rain exposure, not just style
- Make sure fastening follows the manufacturer's nailing schedule, not a generalized shortcut
Why Hiring a Crew That Already Works in Columbia Matters
New-construction window work isn't especially glamorous, but it's one of the parts of a build where a rushed or inexperienced install causes problems that don't show up for years — by which point the siding is already on and fixing it means opening the wall back up. A crew that regularly works Columbia and the surrounding Bellingham neighborhoods has already seen how local framing conventions, common lot conditions, and Whatcom County's rain and moss patterns interact with different window and flashing choices. That familiarity shows up in fewer surprises during the build, better coordination with your general contractor or framer, and a flashing job that's built for the weather this area actually gets rather than a generic installation standard.
If you're planning an addition, a garage conversion, or new construction in Columbia and want windows installed right the first time, we're happy to walk the site, look at your rough openings or plans, and put together a straightforward estimate — no pressure, no obligation. The form below is the easiest way to get started.