 Bellingham Siding
 Why Storm Damage Hits Birch Bay Roofs Differently
Birch Bay sits right on the water, and that changes what a roof has to survive. Homes a few miles inland in Bellingham deal with plenty of rain, but Birch Bay roofs take a steady combination of wind-driven rain off the Salish Sea, salt-laden air, and long stretches of shade and moisture that keep moss and moisture-loving growth active most of the year. None of that shows up as one dramatic event most of the time. It shows up as a slow accumulation of small failures — a lifted shingle tab here, a corroding fastener there, a flashing seam that's been wicking water for months — until a storm finally pushes water through somewhere it shouldn't be.
That's the piece a lot of storm damage repairs miss. A crew that isn't used to coastal Whatcom County conditions will patch the obvious hole and move on. A repair done right accounts for the fact that the same wind event that tore a shingle loose also drove rain sideways under three others, and that the salt air nearby has already been working on any exposed metal for years before the storm ever hit.
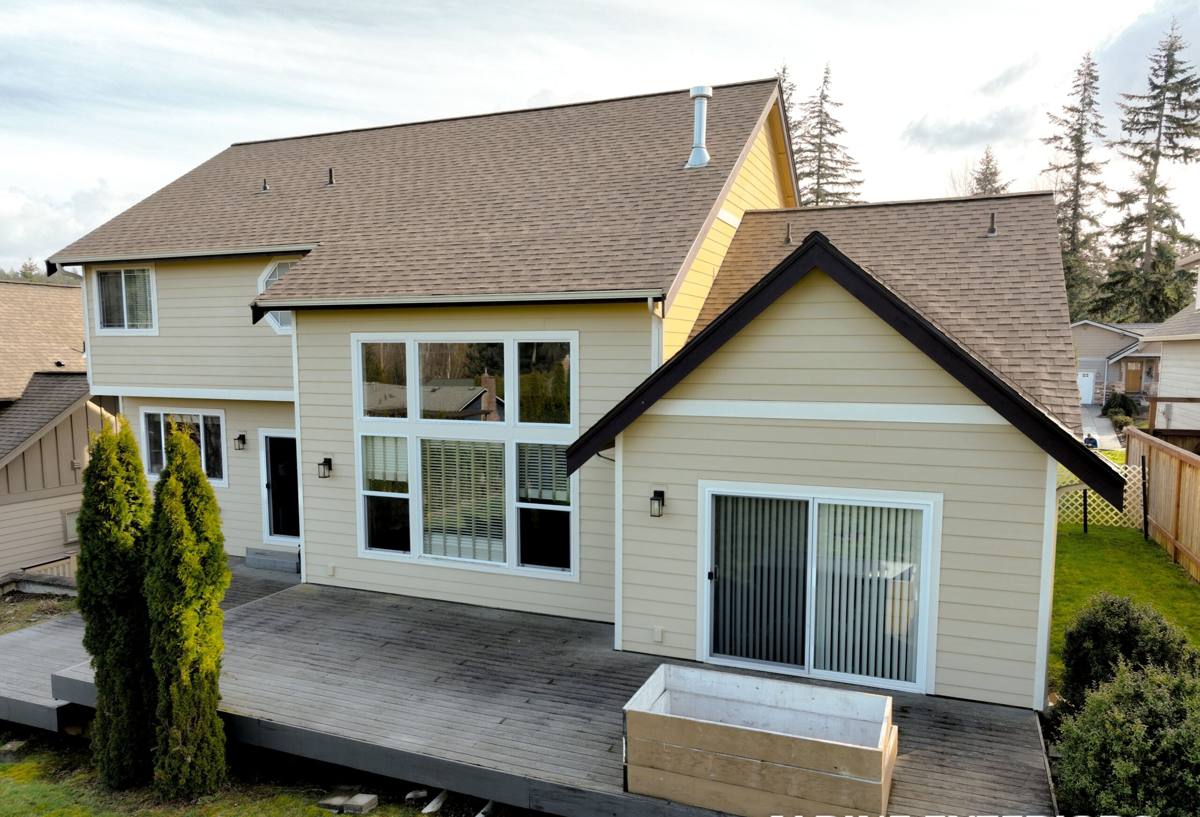
Signs Your Birch Bay Roof Has Storm Damage
Storm damage isn't always a missing shingle you can spot from the driveway. Some of the most costly damage is the kind that hides until it's already caused a leak.
What to Look For After Wind and Rain
- Shingles that look lifted, curled, or creased, even if none are missing
- Granules collecting in gutters or at downspout outlets — a sign of impact or wind abrasion
- Bent, lifted, or separated flashing around chimneys, vents, skylights, or roof-to-wall joints
- Gutters pulled away from the fascia or sagging under debris and standing water
- New or worsening moss and dark streaking, which often means water is sitting somewhere it shouldn't
- Water stains, soft spots, or a musty smell in the attic or upper ceilings after a storm
- Fastener heads (nails or screws) backing out or showing rust streaks below them
Any one of these on its own might be minor. Several together, especially after a windstorm off the water, usually means water has already found a way in — even if you haven't seen a drip yet.
What a Correct Storm Damage Repair Actually Involves
A storm damage repair is more than swapping out the shingles that are visibly gone. Done correctly, it starts with figuring out how far the damage actually spread, because wind and rain rarely limit themselves to the exact spot that looks bad from the ground.
Diagnosis Before Repair
Before any material comes off the roof, the damaged area and everything around it needs a close inspection — the roofing surface, the underlayment beneath it, the flashing, and any decking that may have taken on moisture. Skipping this step is how a homeowner ends up paying for the same repair twice: once for the patch, and again a year later when the water that got under the surrounding shingles finally rots the decking.
Matching, Not Just Patching
Repairs should tie into the existing roof correctly — proper shingle overlap, flashing that's integrated with the roofing material rather than just caulked over it, and fasteners placed and sealed the way the manufacturer specifies. A repair that just covers the hole without restoring the roof's actual water-shedding path is a temporary fix wearing the appearance of a permanent one.
Repair or Replace? How We Make That Call
Not every storm-damaged roof needs to be replaced, and not every roof can be safely patched and called done. The honest answer depends on the roof's age, how much of it is affected, and what we find once we're actually up there.
| Factor | Points Toward Repair | Points Toward Replacement |
|---|---|---|
| Roof age | Roof is well within its expected lifespan | Roof is already near or past its expected service life |
| Extent of damage | Damage is limited to one section or slope | Damage is spread across multiple areas or slopes |
| Decking condition | Decking is dry and solid beneath the damaged area | Decking shows rot, sponginess, or repeated past water intrusion |
| Material availability | Matching shingles/material are still readily available | Existing material is discontinued or badly weathered elsewhere on the roof |
| Underlying moss/moisture history | No chronic moss or ponding issues nearby | Long-term moss growth suggests ongoing moisture problems under the surface |
We'll walk you through which factors apply to your roof specifically, and we'd rather tell you honestly that a repair will hold than sell you a replacement you don't need yet — or the reverse.
Our Storm Damage Repair Process
1. Assessment and Documentation
We inspect the full roof, not just the area you noticed damage, and document what we find with photos. This matters both for your own records and for insurance purposes if you're filing a claim.
2. Temporary Protection When Needed
If a section is actively exposed to the weather, we can install temporary protection to stop further water intrusion while repair materials are sourced, especially useful when back-to-back storm systems are moving through.
3. The Repair Itself
We remove damaged material down to sound decking, address any moisture or minor rot found underneath, and rebuild the area with correctly layered underlayment, flashing, and roofing material tied into the surrounding roof.
4. Cleanup and Final Check
Job-site cleanup includes a magnetic sweep for stray fasteners and gutter clearing if debris from the storm collected there during the work. We do a final walk-through so you know exactly what was done and why.
Materials That Hold Up to Coastal Exposure
Whatcom County's coastline, including Birch Bay, puts extra demands on the small components that hold a roof together. Salt-laden air accelerates corrosion on standard fasteners and thin flashing metal faster than it would a few miles inland. For repairs in this area, we favor corrosion-resistant fasteners and flashing metals suited to marine-adjacent exposure, and we pay close attention to sealant choices that stay flexible through both summer UV and winter freeze-thaw cycles rather than cracking after a season or two.
We also factor in the area's persistent shade and moisture when it comes to moss. Rather than just scraping visible growth, a proper repair addresses drainage and airflow around the repaired section where possible, since standing moisture is what lets moss take hold in the first place. We're honest about trade-offs here too — moss-resistant treatments and zinc or copper strips reduce regrowth but aren't a permanent fix on their own; regular maintenance still matters in a climate like this one.
Insurance and Documentation
Many storm damage repairs in this area involve an insurance claim, and having clear documentation makes that process smoother. We provide detailed photos and a written description of the damage and the repair scope, which you can submit alongside your claim. We're not an adjuster and won't promise a specific claim outcome, but we can help make sure the damage is accurately represented so you're not under-covered for work that's actually needed.
Why a Crew That Already Works Birch Bay Matters
Roofing conditions along the Birch Bay waterfront aren't the same as roofing conditions in a sheltered inland neighborhood, and a crew that mostly works dry, wind-protected sites can miss things specific to this stretch of Whatcom County — how far wind-driven rain travels up under shingles on an exposed slope, how quickly bare metal corrodes this close to salt water, or how much shade a given lot actually gets through the year. A crew that regularly works Birch Bay homes has already seen how these factors play out on real roofs nearby, which means fewer surprises and a repair built for the conditions it actually has to survive, not just the conditions on a spec sheet.
Response time matters too. After a significant windstorm, roofs across the area often need attention at the same time, and a local crew already familiar with the neighborhood can typically get eyes on your roof faster than a company dispatching from farther away.
A Quick Post-Storm Checklist for Homeowners
- Walk the property line and look up at the roof from several angles — don't climb up yourself
- Check gutters and downspouts for granules, debris buildup, or separation from the fascia
- Look in the attic (if accessible) for new water stains, damp insulation, or daylight coming through the decking
- Note the date and approximate wind/rain conditions of the storm for your records
- Take photos of anything that looks off, even if you're not sure it's damage
- Get a professional inspection before the next storm system rolls through, not after
If a recent storm has you wondering about the condition of your roof, we're happy to take a look. We offer free, no-pressure estimates for Birch Bay homeowners — no obligation, just an honest read on what your roof actually needs. The form below is the fastest way to reach us.