 Bellingham Siding
 Why Edgemoor's Waterfront Setting Is Hard on Siding
Edgemoor sits close enough to Bellingham Bay that homes here take on weather most inland Whatcom County neighborhoods don't deal with. Salt-laden air moves in off the water and settles on exterior surfaces, wind-driven rain comes at walls sideways instead of straight down, and the mature tree canopy that makes the neighborhood so pleasant to live in also means long stretches of shade where moisture lingers instead of drying off. Add in a moss season that can stretch from fall through spring in this part of Washington, and you've got a combination that's genuinely tougher on siding than a typical suburban lot.
None of this is unique to any one house in the neighborhood — it's a function of proximity to the bay and the local microclimate. But it does mean that siding choices and installation details that work fine elsewhere in Bellingham can fall short here, especially on elevations that face the water or sit under heavy shade.
What a Correct Siding Installation Must Handle in This Climate
Moisture Management Comes First
The single biggest factor in how long a siding job lasts on the Whatcom County coast is what happens behind the siding, not what's visible on the surface. Correct water-resistive barrier installation, properly lapped and taped seams, and flashing detail at every window, door, and penetration matter more here than the siding material itself. Salt air and constant damp accelerate any hidden moisture problem that a rushed installation leaves behind.
Ventilation and Drainage
A rainscreen gap or drainage plane behind the cladding gives bulk water somewhere to go and lets the wall assembly dry between storms. On a shaded, near-water lot, skipping this detail is one of the most common reasons siding looks fine for a few years and then fails from the inside out.
Material Stability
Materials that swell, cup, or absorb water at cut edges are a poor match for a site that rarely gets a long dry stretch to recover. The siding needs to hold its shape and finish through repeated wet-dry cycles without the edges softening or the paint film failing early.
Why James Hardie Fiber Cement Is the Right System for This Neighborhood
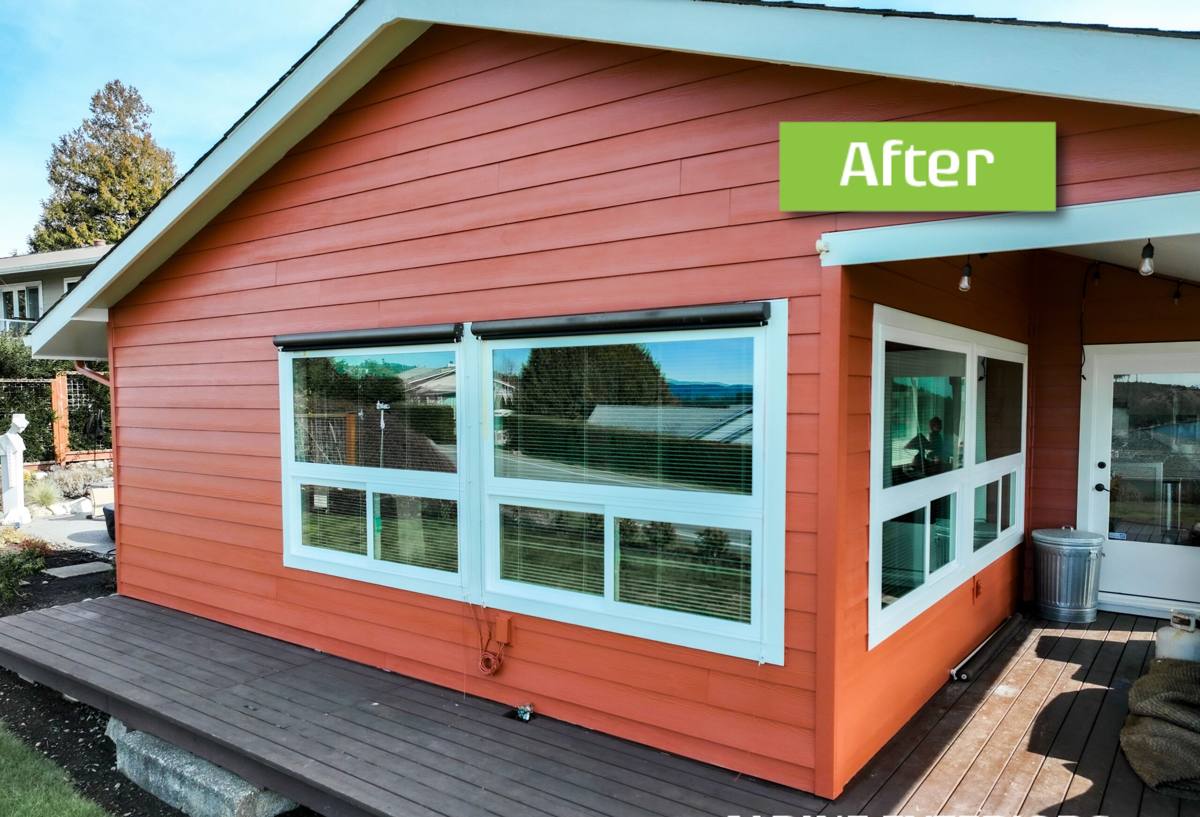
We install James Hardie fiber cement exclusively, and Edgemoor is exactly the kind of setting that explains why. Hardie's HZ5 product line is engineered specifically for climates with heavy moisture exposure — it resists swelling, cracking, and moisture intrusion better than wood-based or wood-look composite products, and it doesn't rot or support the kind of fungal growth that shaded, damp siding is prone to over time.
The factory-applied ColorPlus finish also matters more here than in a drier climate. Because the finish is baked on in a controlled factory setting rather than field-applied, it holds color and resists the chalking and fading that salt air and UV exposure cause faster near the water. That means fewer repaint cycles over the life of the siding, which is a real cost consideration on a neighborhood where repainting means dealing with scaffolding, shaded surfaces that take longer to dry, and the general hassle of a waterfront-adjacent property.
Hardie backs the product with a strong transferable warranty, which is worth something on a property where the next owner will care just as much about the exterior as you do. We don't install vinyl, LP SmartSide, Cemplank, Allura, or primed wood siding — not because those products have no merit anywhere, but because we've standardized on the one system that holds up consistently in this specific coastal, high-moisture environment without asking the homeowner to gamble on installation sensitivity or long-term maintenance.
Our Installation Process for Edgemoor Homes
1. On-Site Assessment
We walk the exterior, check existing siding and trim condition, look at grade and drainage around the foundation, and identify any elevations with heavier moisture exposure — typically the sides facing the water or sitting under the densest tree cover.
2. Tear-Off and Sheathing Check
Old siding comes off and we inspect the sheathing underneath for rot, soft spots, or prior moisture damage before anything new goes up. This is the step that gets skipped by crews trying to move fast, and it's the one that determines whether the new siding lasts.
3. Water-Resistive Barrier and Flashing
We install a new weather-resistive barrier with correctly lapped seams and detail flashing at every window, door, and penetration, sloped and sealed to shed water outward rather than trap it.
4. Drainage Plane Installation
Depending on the wall assembly, we build in a drainage gap so bulk water has somewhere to go and the wall can dry between rain events — a non-negotiable detail on shaded, near-water lots.
5. Hardie Installation to Manufacturer Spec
Panels or planks are installed with correct fastener placement, joint treatment, and clearances at grade, trim, and roof lines, following James Hardie's published installation requirements rather than shortcuts that would void the warranty.
6. Final Walkthrough
We review the finished work with you, cover care and maintenance basics, and make sure you understand what the warranty covers.
Signs Your Current Siding Is Already Losing the Fight
- Dark streaking, green film, or moss buildup that returns quickly after cleaning
- Soft or spongy spots when you press on siding, especially near the bottom courses or trim
- Paint that's chalking, peeling, or fading unevenly, particularly on shaded or water-facing walls
- Visible gaps, warping, or cupping at panel edges or seams
- Interior signs like musty smells, peeling interior paint, or damp drywall on exterior-facing walls
- Caulk that's cracked or pulled away at trim, window, and corner joints
Any one of these on its own isn't necessarily an emergency, but on a property this close to the bay they tend to compound quickly once moisture finds a way behind the cladding.
Cost Factors for an Edgemoor Siding Project
Every project is priced from an on-site walkthrough, but the factors below are what actually move the number on a coastal Bellingham property.
| Factor | Why It Affects Cost |
|---|---|
| Tear-off and sheathing repair | Hidden moisture damage found under old siding adds labor and material before new siding can go on |
| Home size and wall complexity | More corners, dormers, and trim detail mean more cutting, flashing, and labor time |
| Access and site conditions | Sloped lots, mature landscaping, and limited staging area near the water can slow crew logistics |
| Drainage plane and flashing upgrades | Bringing an older wall assembly up to a proper moisture-managed system is worth the added cost long-term |
| Hardie product line and profile | Lap siding, panel systems, and trim packages carry different material costs |
| Color and finish selection | ColorPlus factory finishes vary by line and color; special order colors can affect lead time |
Choosing a Crew That Already Works This Neighborhood
Siding installation is one of those trades where the difference between a correct job and a mediocre one doesn't show up for a few years — and by then it's a tear-off and redo, not a warranty fix. A crew that already understands the specific demands of a near-water, tree-shaded Bellingham lot will make different decisions on flashing details, drainage planes, and fastening schedules than a crew used to drier, more exposed sites inland. That local pattern-recognition is worth more than it sounds like on paper.
It also matters that the crew installing your siding is the same crew accountable for the warranty. We install Hardie products to manufacturer specification because that's what keeps the material and labor warranties intact — and because we're not choosing between multiple product lines with different installation requirements, there's no ambiguity about how the job should be done.
Before You Hire: A Quick Checklist
- Ask what's included in the water-resistive barrier and flashing detail, not just the visible siding
- Confirm whether a drainage plane or rainscreen gap is part of the installation
- Get the manufacturer and product line in writing, not just "fiber cement" or "Hardie-style"
- Ask how sheathing issues, if found during tear-off, will be handled and priced
- Check that fastening and clearance details will follow the manufacturer's published installation guide
- Understand what's covered by material warranty versus workmanship warranty, and for how long
Getting Started
If your Edgemoor home's siding is showing wear, or you're planning ahead of a needed replacement, we're happy to walk the property with you and give you a straightforward look at what's going on and what it would take to fix it right. There's no pressure and no obligation — just an honest assessment and a free estimate based on what your home actually needs.