 Bellingham Siding
 New-Construction Windows for Ferndale Homes
Ferndale sits close enough to the water and open enough to the wind coming off the Salish Sea and the Nooksack lowlands that new-construction window installation here isn't quite the same job it would be twenty miles inland. New-construction windows are installed with a nailing fin into a fully open rough opening, before siding goes on, which gives us direct access to the house wrap, flashing, and sheathing in a way that retrofit or pocket replacement work never does. Done right, that's an advantage. Done carelessly, it's the single biggest source of water intrusion we see in newer Whatcom County homes.
We install new-construction windows on ground-up builds and additions throughout Ferndale, and the work is planned around the same conditions we deal with on every exterior project in this part of the county: salt-tinged marine air, rain that comes in sideways as much as it falls straight down, and a moss and mildew season that runs long on shaded and north-facing walls. A window opening is one of the most vulnerable points in a wall assembly. Getting the flashing sequence right the first time matters more here than in a drier climate, because there's less margin for a shortcut to go unnoticed.
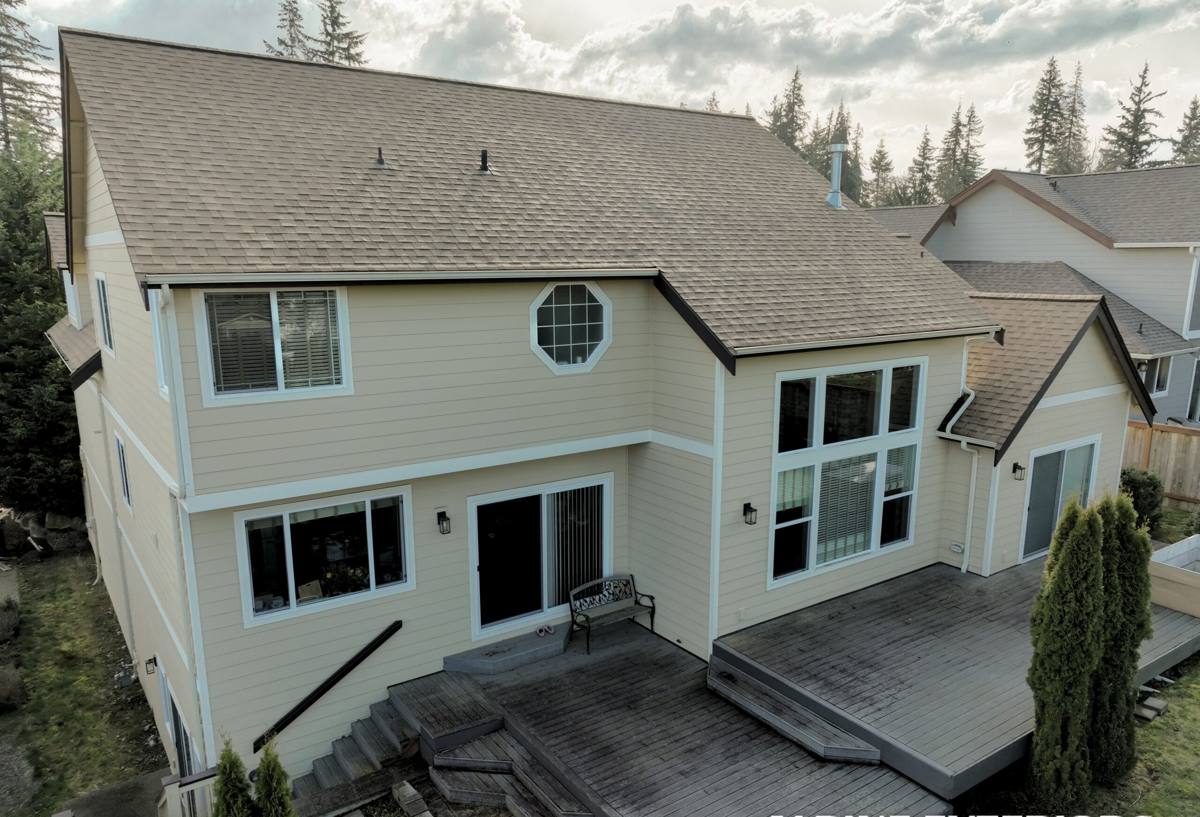
What Ferndale's Climate Asks of a Window Installation
Wind-Driven Rain at the Rough Opening
Rain that's pushed sideways by wind doesn't just wet the glass and frame face, it drives water up under sill flanges and into vertical trim joints that a straight-down rainfall pattern would never reach. A rough opening that's flashed only for gravity drainage, with no accounting for wind pressure, is a common failure point in newer construction across this region. The sill pan, the order of the flashing layers, and how the housewrap laps over the fin all have to be built with wind-driven exposure in mind, not just a general assumption that water falls down and drains out.
Salt Air and Hardware Longevity
Homes with any real exposure to the bay or open farmland air in and around Ferndale see faster wear on lower-grade window hardware, fasteners, and finishes than the same products would show inland. That's not a dramatic failure, it's a slow one: stiffer operation, corroding screws behind trim, and finishes that dull years ahead of schedule. It's a good reason to look closely at the corrosion resistance of hardware and fasteners specified for a new-construction window package, not just the glass and frame.
A Long Moss and Mildew Season
Mild temperatures and consistent dampness mean moss and mildew growth on shaded siding and trim can run most of the year in this part of Whatcom County. Around windows specifically, that shows up as staining and buildup on sills, at head trim, and in any spot where water lingers instead of draining away cleanly. A window opening with proper slope at the sill and a drainage path that actually clears water gives moss and mildew far less to hold onto.
Why New-Construction Windows Are Different From a Replacement
New-construction windows have a nailing fin around the perimeter of the frame that gets fastened directly to the sheathing, then integrated into the house wrap and flashing before siding is installed. That's different from a replacement or pocket window, which typically gets set into an existing frame with the surrounding wall already closed up. The new-construction approach gives an installer full access to build the water management layer correctly from the sheathing out, which is exactly why it matters so much to get the sequence right, since there won't be another chance to fix it once the siding goes on.
- Full access to sheathing and rough opening for proper flashing, not working around an existing wall assembly
- Nailing fin fastened and integrated into house wrap, following manufacturer-specified overlap order
- Sill pan flashing that directs any water that gets past the window back out, not into the wall cavity
- Head flashing and side flashing that shed water down and over the layers below, shingle-style
- Correct air-seal and insulation at the perimeter gap, without over-compressing low-expansion foam
- Interior and exterior sealant only where it belongs, so the assembly can still drain if water gets in
The Flashing Sequence Is the Whole Job
A window itself, whatever brand or grade, is only as good as the flashing detail around it. We build the sill pan first, so any water that makes it past the window sill drains back out over the exterior wall surface instead of pooling against the sheathing. Side flashing and head flashing go on in the correct shingle-lap order, each layer overlapping the one below it, so water is always directed down and out. It's a sequence, not a checklist to complete in any order, and skipping or reversing a step is how a wall assembly that looks finished ends up rotting quietly behind the siding for years before anyone notices.
Window Types We Install
| Window Style | Typical Use | Consideration for This Climate |
|---|---|---|
| Vinyl, standard grade | Budget-conscious new construction | Look closely at frame reinforcement and weatherstripping quality; not all vinyl performs the same in sustained wind-driven rain |
| Vinyl, high-performance | Most new-construction homes in this region | Multi-chambered frames and upgraded glazing packages handle moisture and wind load better than entry-level lines |
| Fiberglass | Homes wanting more dimensional stability and paint flexibility | Expands and contracts less than vinyl across seasonal temperature swings, holds paint well over time |
| Wood-clad | Higher-end builds, interior wood aesthetic | Exterior cladding needs to be genuinely weathertight; the interior wood face still needs periodic maintenance |
Our Installation Process
Rough Opening Check
Before a window ever goes in, we verify the rough opening is square, plumb, and sized correctly per the window manufacturer's specifications. An opening that's slightly out of square gets shimmed and corrected now, not compensated for later with excess sealant, which is never a permanent fix.
Sill Pan and Flashing Build
We build the sill pan flashing, set the window, then run side and head flashing in the correct overlapping order so the whole assembly sheds water down and out rather than trapping it. This is the step that determines whether the wall stays dry for the next thirty years, and it's the step we spend the most care on.
House Wrap Integration
The house wrap gets cut, lapped, and taped around the window fin so the entire water-resistive barrier works as one continuous system instead of a patchwork with gaps at every window opening. A window installed correctly but isolated from a poorly integrated house wrap can still leak.
Insulation and Air Sealing
The gap between the window frame and rough opening gets filled with a low-expansion foam or backer rod and sealant designed for that purpose, sized to insulate and air-seal without bowing the frame out of square. Over-filling this gap is a common mistake that can distort window operation for the life of the house.
Final Inspection
Every window gets operated, checked for square and level, and visually inspected for flashing coverage before we consider the opening complete and ready for siding. Catching an issue here costs minutes; catching it after the siding is up costs a lot more.
What to Ask Before You Sign
- Who is actually pulling and closing out the building permit for the window installation?
- What's the specific flashing sequence they'll use at each rough opening, and can they describe it, not just gesture at it?
- Which window lines do they install regularly, and why those specifically for this climate?
- How do they handle a rough opening that's out of square when they find one?
- What's covered under the manufacturer's window warranty versus the installer's workmanship warranty?
- Do they carry current Washington state contractor licensing and liability insurance?
Cost Factors for New-Construction Window Installation
| Factor | Why It Moves the Price |
|---|---|
| Window count and size | More openings and larger units mean more material and labor, straightforward but often underestimated in early budgets |
| Window grade and glazing package | Upgraded frames, low-E coatings, and impact-rated glass all add cost over entry-level units |
| Home height and access | Second-story and vaulted openings take longer and often require additional staging or lift equipment |
| Number of unique sizes | A home with many custom-sized openings costs more to install accurately than one built around a handful of repeated standard sizes |
| Coordination with siding trade | Scheduling windows and flashing tightly with the siding crew reduces exposed rough openings and weather risk during the build |
We give real numbers after seeing the plans and the actual openings, not a rough guess off a square-footage average. New construction pricing depends heavily on the window schedule the builder or architect specifies, and we work from that directly.
Why Hire a Crew That Already Works Ferndale
New-construction window installation is a coordination job as much as a technical one. It has to line up with the framing crew, the siding crew, and often the builder's own schedule, and it has to be flashed to handle this specific region's wind-driven rain rather than a generic installation standard written for a drier part of the country. A crew that already works Ferndale and the surrounding Whatcom County area has seen how these openings perform after a few wet seasons, not just at final walkthrough, and builds accordingly. That's the difference between a window installation that looks finished on inspection day and one that's actually built to hold up through this area's weather for the long run.
If you're planning new construction or an addition in Ferndale and want a straightforward look at what proper window installation involves for your project, we're glad to walk the plans with you. Reach out for a free, no-pressure estimate using the form below.