 Bellingham Siding
 New-Construction Windows in York: Built for Bellingham's Weather, Not Just the Opening
York is one of the older, tighter-knit neighborhoods inside Bellingham, and like most of the city it sits close enough to the water and the hills that the weather does real work on a house. New-construction window installation — whether you're framing a new home, adding a room, or gutting a wall back to the studs on a remodel — is your one chance to get the water management right before siding and interior finish cover it up. Get it wrong here and you're not dealing with a leaky window in five years, you're dealing with rot in the wall sheathing that nobody sees until the drywall is already stained.
Bellingham's climate isn't dramatic, but it's persistent. Long stretches of light-to-moderate rain, wind off Bellingham Bay that turns straight rain into driving rain against west and south walls, and a moss season that runs from fall through spring and keeps every exterior surface damp longer than homeowners from drier climates expect. None of that is exotic, but it means the flashing details around a new window opening have to be done correctly the first time, every time — there's no dry season here that gives a sloppy install a break.
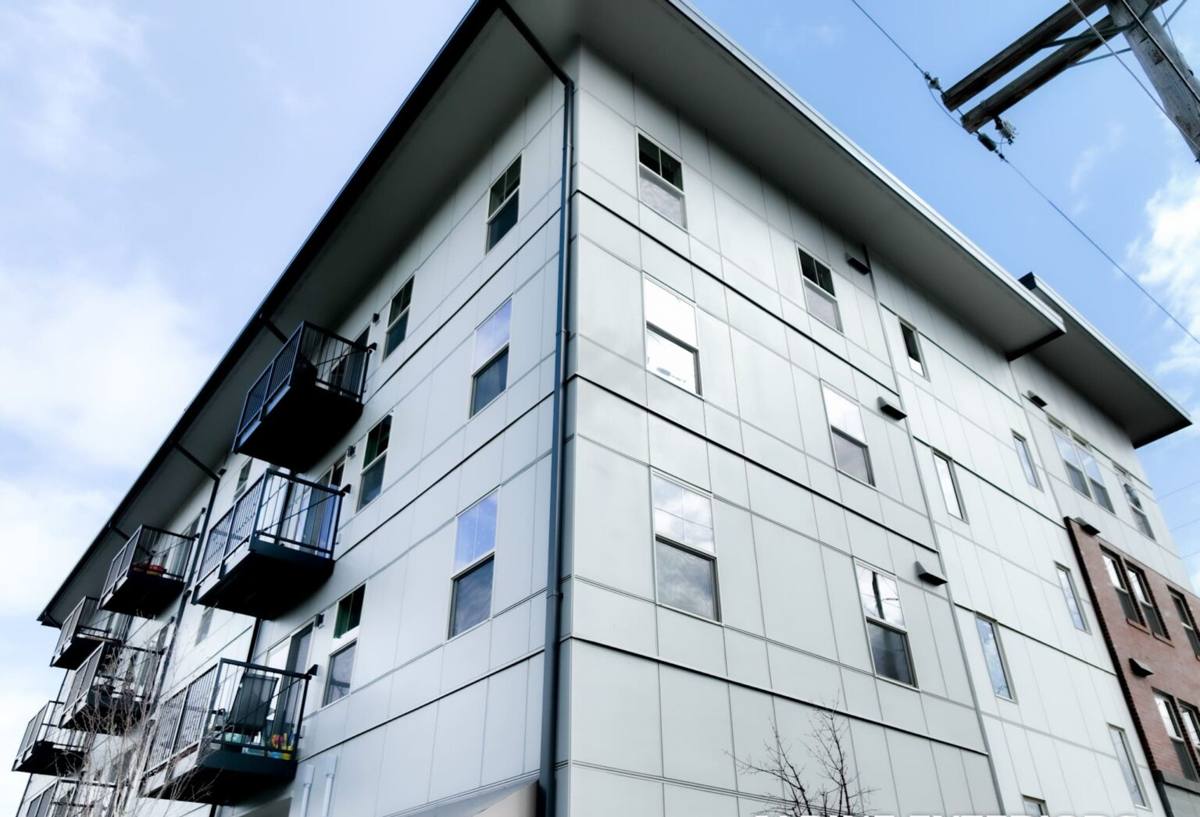
What "New-Construction" Actually Means (and Why It's Different From a Replacement)
Nail-fin vs. flange-free retrofit windows
New-construction windows have a nailing flange around the perimeter that gets integrated directly into the wall's water-resistive barrier (WRB) and flashing system before siding goes on. This is different from a pocket or insert replacement window, which gets set into an existing frame with the old exterior trim left in place. New-construction installs give us full access to the rough opening, the sheathing, and the WRB — which is exactly what you want when the goal is a wall assembly that sheds water correctly for decades, not just a window that looks fine from the street.
Only possible with the wall open
Because this method requires the wall to be open — new build, addition, or a remodel where siding and sheathing are already coming off — it's not something we can offer as a quick swap on an occupied home with finished siding intact. If that's your situation, that's a retrofit conversation. New-construction installation is for framing stage or full wall-assembly remodels, and it's worth doing right precisely because you won't get another clean shot at these details without opening the wall again.
The Water-Management Sequence: Where Most Failures Actually Start
Sill pan first, always
Every rough opening gets a sloped sill pan before the window ever sets in place. This is the single most important detail in the whole installation. If a window ever takes on wind-driven water at the sill — and in a driving-rain climate like ours, eventually one will — the pan gives that water a sealed path back outside instead of down into the wall cavity or subfloor.
Flashing tape integration with the WRB, in the right order
Flashing tape at the jambs and head needs to overlap the WRB in true shingle-lap fashion — each layer lapping over the one below it — so gravity always carries water outward and down, never into a seam. Head flashing gets integrated last and laps over the WRB above the opening. Skip a layer or reverse the order and you've built a place for water to collect rather than drain, and it won't show up as a problem until the wall's been closed up for a season or two.
Backer rod and sealant, not caulk alone
Gaps around the frame get backer rod and a proper exterior-grade sealant sized to the joint, not just a bead of caulk smeared over the top. Caulk alone stretches and fails; a properly sized joint with backer rod behind it moves with the building and the seasons without losing its seal.
Basic sequence checklist
- Rough opening checked square, level, and sized correctly before anything else happens
- Sloped sill pan installed and integrated with the WRB below
- Window set, shimmed, and fastened per manufacturer spacing — not just at the corners
- Jamb flashing tape applied in proper shingle-lap order
- Head flashing installed last, lapping over the WRB above the opening
- Interior and exterior gaps sealed with backer rod and appropriate sealant
- Operation checked — window opens, closes, and locks without binding before siding goes on
Choosing the Right Window for a York-Area Home
Material choice matters more here than in a drier, calmer climate because the frame and hardware are dealing with sustained moisture exposure and, depending on how close the lot sits to the water, some salt air as well. There's no single "best" answer — it's a trade-off between upfront cost, maintenance tolerance, and how the frame will hold up over 20-plus years of Whatcom County weather.
| Frame Material | Moisture Behavior | Maintenance | Typical Fit |
|---|---|---|---|
| Vinyl | Won't rot or corrode; performs well in wet climates | Low — occasional cleaning | Most new builds and additions on a budget-conscious timeline |
| Fiberglass | Very stable dimensionally, holds up well to sustained damp exposure | Low | Homes wanting a more solid feel and paintable finish |
| Wood-clad | Exterior clad protects the wood, but any breach in the cladding lets moisture reach the core | Moderate — cladding seams need periodic inspection | Homeowners set on a wood interior look who accept the added upkeep |
| Aluminum | Conducts cold and can corrode faster near salt air unless properly finished | Moderate to high near the water | Specific architectural styles where the look is the priority |
We'll walk through this trade-off honestly for your specific lot and orientation rather than push one brand or material as a default. A window on a west-facing wall that takes direct weather off the bay needs a different level of hardware and finish durability than one tucked on a sheltered, east-facing side of the same house.
Our Process, Start to Finish
1. Walkthrough and rough opening review
We look at the framing plans or the existing rough openings, talk through window sizes, egress requirements where they apply, and how each elevation of the house will actually face the weather.
2. Product selection
We go over frame material, glass package, and hardware options based on the wall's exposure, your budget, and how much long-term maintenance you want to take on.
3. Installation
Sill pans, flashing, and sealant go in following the sequence above — every opening, every time, regardless of whether it's a highly visible front elevation or a side wall nobody sees.
4. Final check before siding
Before siding crews close the wall, we confirm every window operates correctly, every flashing lap is in the right order, and every seal is intact. This is the last point where a mistake is cheap to fix — after siding goes on, it isn't.
Mistakes We See (and Build Around)
The most common failures we get called to fix later aren't dramatic — they're small shortcuts that don't matter until year three or four. A head flasher installed under the WRB instead of over it. Fasteners that missed the frame's reinforced strike points and work loose over time. Caulk used as the only water barrier at a jamb with no backer rod behind it. In a climate where the wall stays damp for months at a stretch during moss season, these shortcuts compound instead of drying out and forgiving themselves.
Salt-influenced air near the water can also accelerate corrosion on lower-grade hardware — hinges, locks, and fasteners — faster than homeowners moving from inland climates expect. We factor that into hardware selection rather than treating it as an afterthought.
What to Ask Any Contractor Doing New-Construction Window Work
- Will you install a sloped sill pan at every opening, not just the ones that are easy to access?
- What's your flashing lap order, and can you explain why it goes in that sequence?
- Do you inspect and confirm operation of every window before the wall gets closed up?
- What frame and hardware materials do you recommend for this specific wall's sun and weather exposure?
- Will the work be inspected against manufacturer installation instructions to keep the warranty intact?
If a contractor can't answer these clearly and specifically for your project, that's worth pausing on before the wall gets closed up around their work.
Why Local Experience in York Matters
A crew that already works this part of Bellingham has a working sense of how wind and rain actually hit different lots and elevations around here — which walls take the brunt of a southwesterly storm, how long moss season really runs, and what that means for a wall assembly that has to perform for decades, not just pass inspection on a clear day. That's not a substitute for doing the flashing sequence correctly on every single opening, but it does mean fewer surprises and a crew that isn't learning Whatcom County's weather patterns on your project.
If you're framing a new build or opening a wall for a remodel in the York area, we're happy to walk the site, look at your plans, and put together a straightforward, no-pressure estimate — just fill out the form below.