 Bellingham Siding
 Siding Installation Built for Puget's Weather
Homes in the Puget area of Bellingham sit close enough to the water and the tree line that their siding takes on a different kind of wear than a house twenty miles inland. Salt-laden air moves in off the Sound, driving rain comes in sideways during fall and winter storms, and shaded lots hold moisture long after the rain has stopped. Siding installation here isn't just about picking a product and nailing it up — it's about installing a system that's built to handle this specific mix of conditions, and installing it correctly the first time so it doesn't need to be redone in ten years.
This page covers what siding installation actually involves for a Puget-area home in Whatcom County, what we see go wrong when it's rushed, and how our process is set up to avoid those problems.
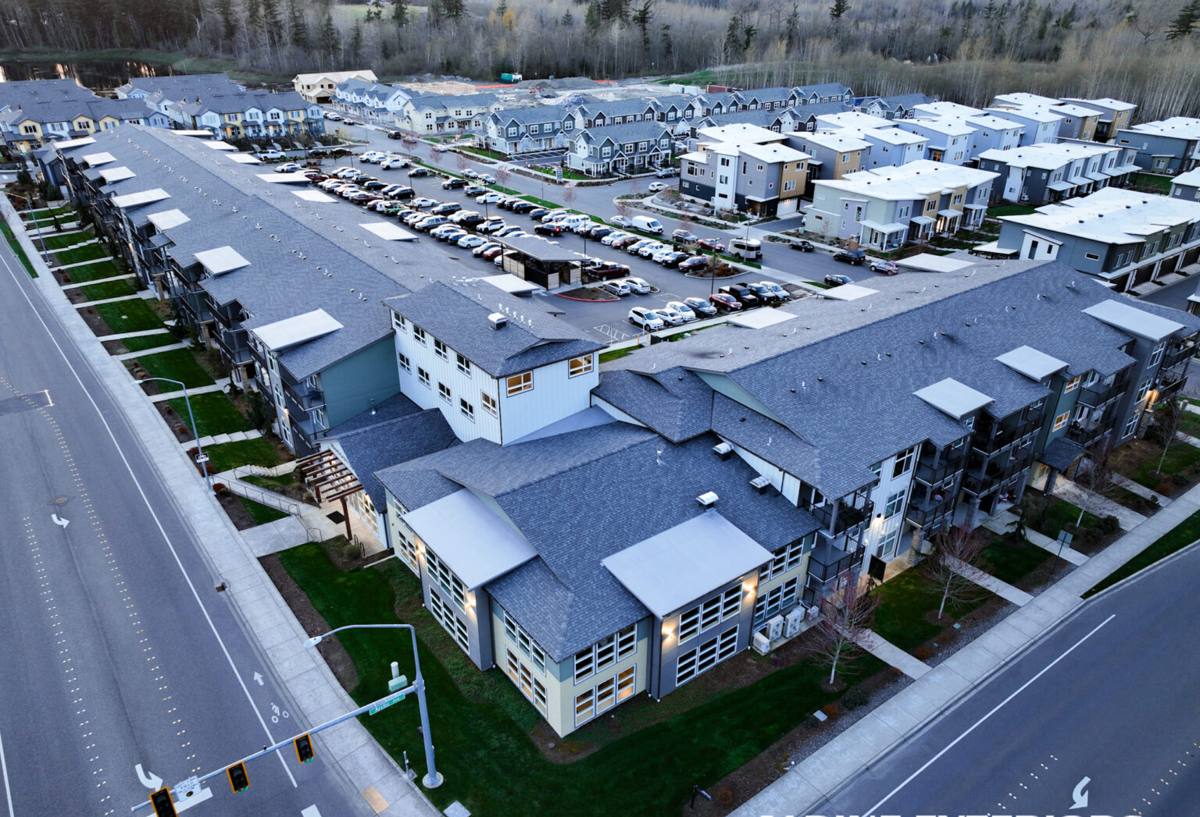
What Bellingham's Climate Does to Exterior Siding
Whatcom County's marine climate is mild compared to a lot of the country, but "mild" doesn't mean easy on a house. Three things do most of the damage over time.
Salt Air and Corrosion
Proximity to Puget Sound means airborne salt settles on exterior surfaces, especially on homes with an open exposure toward the water. Salt accelerates corrosion of fasteners, trim, and any metal flashing that isn't rated for a marine-influenced environment. Siding material that can't handle repeated wet-dry salt cycling will show it first at seams, corners, and fastener heads.
Driving Rain and Water Intrusion
Storms off the Sound don't always fall straight down. Wind-driven rain gets pushed sideways into wall assemblies, which means the weather-resistive barrier behind the siding, the flashing details around windows and doors, and the way panels are lapped and caulked matter as much as the siding material itself. A siding job can use a great product and still fail if water is allowed to get behind it and stay there.
Moss, Shade, and a Long Wet Season
Whatcom County's tree cover and long stretch of overcast, damp months give moss and algae plenty of time to take hold on north-facing and shaded walls. Siding that holds moisture at the surface, or that's installed with too little clearance from grade, decks, or roofing, gives moss a place to establish and spread. Once it's established, it holds even more moisture against the wall — a cycle that shortens the life of the assembly underneath.
Why We Install Only James Hardie Fiber Cement Here
We install James Hardie fiber cement siding exclusively. We don't install vinyl, LP SmartSide, or other fiber cement brands, and that's a deliberate standard, not a sales preference. Fiber cement is non-combustible and dimensionally stable, so it doesn't expand and contract the way vinyl does with our temperature swings, and it doesn't rely on a wood-based substrate that can be sensitive to the moisture load this climate produces. Hardie's ColorPlus factory finish is baked on and warranted against fading and peeling, which matters in a region that gets a lot of both direct coastal UV in summer and prolonged damp in winter. Hardie also makes climate-engineered HZ product lines specifically for wetter, harsher exposures — the kind of engineering that's relevant for a Puget-facing wall, not just a marketing line.
None of that replaces correct installation. Fiber cement's durability advantage only shows up over the long run if the job is done to Hardie's published specifications.
What a Correct Installation Involves
A siding installation is really several layered systems working together. Getting any one of them wrong shortens the life of the whole wall, no matter how good the siding itself is.
Weather-Resistive Barrier and Flashing
Before any siding goes up, the wall needs a continuous weather-resistive barrier, properly lapped shingle-style so water sheds down and out rather than in. Window and door openings need flashing integrated with that barrier — head flashing, sill pans, and jamb flashing — so wind-driven rain has nowhere to get behind the siding.
Clearances and Fastening
Hardie specifies minimum clearances from grade, roofing, decks, and other horizontal surfaces. Skipping these clearances is one of the most common shortcuts we see, and it's a direct contributor to moss growth and trapped moisture in a climate like this one. Fastener type, placement, and spacing also matter — corrosion-resistant fasteners driven correctly hold the panel without cracking it or leaving it loose enough to move in wind.
Joints, Caulking, and Paint Lines
Butt joints, corners, and penetrations need to be sealed with a compatible sealant, and any field-cut edges need to be primed and painted to match the factory finish. An unsealed or unprimed cut edge is a direct path for water into the fiber cement itself, and it's often invisible from the ground until the damage has already started.
Our Process, Start to Finish
- Assessment: we walk the exterior, check the existing wall assembly where it's exposed, and look specifically at exposure direction, drainage, shade, and any existing moss or moisture staining.
- Removal and prep: old siding comes off, the sheathing is inspected for hidden damage, and any rot or compromised material is repaired before anything new goes on.
- Weather barrier and flashing: a new, continuous weather-resistive barrier goes on with correctly integrated window, door, and penetration flashing.
- Siding installation: Hardie panels or planks are installed to spec — clearances, fastening pattern, and joint layout all following the manufacturer's requirements for this climate.
- Sealing and finish work: joints are sealed, cut edges are primed and finished, and trim details are completed.
- Final walkthrough: we review the finished job with the homeowner and point out anything they should know about care going forward.
Installation Mistakes We See on Homes in This Area
Most siding failures we get called out to inspect aren't a product problem — they're an installation problem that took years to show up. A few patterns come up often enough in Puget-area homes that they're worth naming directly.
- Siding installed tight to grade, a deck, or a lower roofline, with no clearance for water and debris to drain away
- Missing or poorly lapped flashing around windows, allowing wind-driven rain behind the wall
- Cut edges left unprimed, which lets moisture into the fiber cement at the most vulnerable point
- Caulking used in place of proper flashing, which fails well before the siding does
- Panels face-nailed or over-driven, cracking the material or leaving it unable to handle normal expansion and contraction
Each of these is avoidable, and none of them show up as an obvious problem on installation day — they show up years later as moisture damage, moss buildup, or a finish that's failing early.
What Affects the Cost of a Puget Siding Installation
Every home is different, but the same handful of factors drive most of the cost variation we see on siding installation projects in this area.
| Factor | Why It Matters Here |
|---|---|
| Extent of removal and sheathing repair | Homes with hidden moisture damage from a prior installation often need sheathing repair before new siding goes on |
| Wall complexity and cutouts | Dormers, multiple gables, and window density all add labor and detail work |
| Siding profile chosen | Lap siding, shingle-style panels, and board-and-batten all install differently and price differently |
| Trim and accessory scope | Corner boards, fascia, and soffit work done alongside siding affects total project size |
| Access and site conditions | Sloped lots, tree cover, and tight access common in this area can affect staging and labor time |
We walk every home in person before giving a number, because the factors above vary enough from house to house that a phone estimate isn't a responsible one.
Caring for Your New Siding After Installation
Correctly installed Hardie siding is low-maintenance, but "low-maintenance" isn't "no-maintenance," especially in a climate that grows moss well. A short annual routine keeps the assembly performing the way it was installed to perform.
- Rinse the exterior annually, focusing on shaded, north-facing, and tree-covered walls where moss and algae take hold first
- Keep gutters clear so water isn't overflowing directly onto siding below
- Trim back vegetation that keeps a wall section shaded and damp
- Check caulking at joints and trim every year or two and have any cracked or missing sealant redone
- Have any impact damage or cracked panels repaired promptly, since a cracked panel is a direct path for water
Why Local Experience in Puget Matters
A crew that already works in this part of Bellingham has seen how the exposure, shade patterns, and moisture load in this specific area play out on real walls over real years. That's different from general siding experience. It means we know which walls in this kind of setting need extra attention to clearance and drainage, which exposures see the worst wind-driven rain, and where moss shows up first on a typical lot. It also means we're familiar with the permitting and inspection expectations in Whatcom County and the City of Bellingham, so the project moves without avoidable delays.
If you're planning a siding installation for a home in the Puget area, we're happy to come take a look and give you a straightforward, no-pressure estimate — no invented urgency, just an honest read on what your home needs.