 Bellingham Siding
 Siding on South Hill: A Different Set of Demands
South Hill sits up above much of central Bellingham, and that elevation cuts both ways. The views are part of what makes the neighborhood desirable, but the same exposure that opens up those views also means more direct contact with wind-driven rain, more moisture cycling, and — because this is Whatcom County, a short haul from Bellingham Bay and the Salish Sea — a steady dose of salt-laden air working on every exterior surface year-round. Add in the shade from mature trees on many older lots, and you get a longer moss season than homes get just a few miles inland. None of that is exotic weather. It's simply what siding on a hillside, near-water Pacific Northwest neighborhood has to shrug off, every year, for decades.
Siding that isn't built or installed for that combination doesn't fail overnight. It fails slowly — a soft spot near a window, a section that stays damp two days after everyone else's siding has dried, moss creeping into a seam that was never quite sealed right. By the time it's visible, moisture has usually been working underneath the surface for a while.
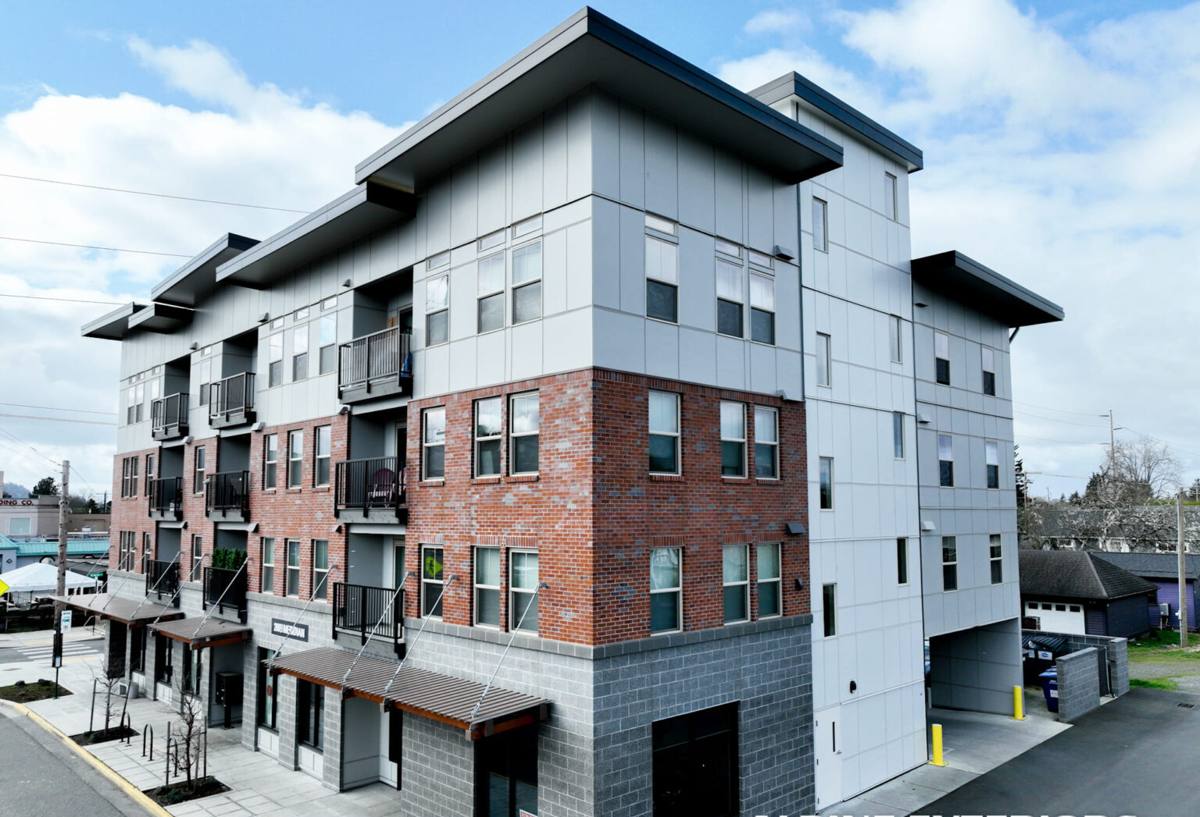
What South Hill Homes Actually Need From Their Siding
South Hill has a real mix of housing stock — older homes from earlier eras of the neighborhood's development alongside newer infill and remodels — which means we see a wide range of existing siding conditions on service calls up there. A few things hold true across almost all of them:
- Moisture management that doesn't depend on paint alone. Paint film breaks down; the siding material and the water-resistive barrier behind it need to do the real work.
- Resistance to sustained dampness, not just rain itself — shaded, tree-covered lots on South Hill often stay damp longer after a storm than open, sun-exposed sites elsewhere in Bellingham.
- Salt-air tolerance. Airborne salt accelerates the breakdown of fasteners, caulk, and some siding substrates faster than inland exposure does.
- A finish that resists moss and mildew staining without needing yearly power-washing to stay presentable.
- Correct clearances and flashing at grade, roofline, and around every penetration, since this climate doesn't forgive shortcuts the way a drier region might.
Why We Only Install James Hardie Fiber Cement
We made a decision a long time ago to standardize on one siding system rather than offer a menu of products — and it's specifically because of climates like this one. James Hardie fiber cement is engineered with regional exposure in mind; the HZ5 product line is formulated for the wetter, harsher weather patterns found in the Pacific Northwest, which is exactly the kind of exposure a South Hill home deals with. It's non-combustible, it doesn't rot the way wood-based products can, and it holds its shape and seams tightly enough that it doesn't invite water intrusion the way some lighter-weight alternatives do over time.
We don't install LP SmartSide, vinyl, Cemplank, Allura, primed spruce, or cedar — not because those products have no place in the market, but because after years of doing exterior work in this specific climate, we don't want our name on a product we don't have full confidence will hold up on a South Hill lot for the next 30 years without heavy maintenance. Hardie's ColorPlus factory-applied finish also matters here specifically: a factory-baked finish resists the fading and moss-staining that field-painted siding is more prone to in a shaded, damp environment, and it comes with a warranty structure that's meaningfully stronger than what most site-finished products offer.
What a Correct Siding Installation Actually Involves
Fiber cement siding is only as good as the assembly behind it. A lot of failures we get called out to inspect aren't material failures at all — they're installation shortcuts. A correct job includes:
The Water-Resistive Barrier
A continuous, properly lapped weather barrier goes on before a single piece of siding. Every seam, every penetration for a hose bib, vent, or light fixture, gets flashed and taped so water that gets past the siding surface (and eventually, some always does) has a clear path down and out instead of into the wall assembly.
Fastening and Clearances
Fasteners have to hit framing at the manufacturer's specified pattern and depth — overdriven or underdriven nails are one of the most common causes of premature siding problems. Siding also needs proper clearance from grade, roof lines, decks, and patios; tight clearances trap moisture against the bottom edge of the board and that's often where you'll first see swelling or paint failure.
Joints, Caulking, and Trim
Butt joints need to be back-flashed, not just caulked and hoped for. Caulk is a first line of defense, not the whole defense. Trim details around windows, corners, and the roofline need to shed water outward, not channel it behind the cladding.
Painting and Touch-Up
With ColorPlus prefinished siding, most of the color work is already done at the factory — job-site work is limited to sealing cut edges and touching up fastener heads, which reduces the number of places a finish can fail compared to fully field-painted siding.
Our Installation Process
- On-site assessment. We walk the exterior, check the current siding and sheathing condition, note drainage, grading, and shade exposure specific to the lot.
- Tear-off and substrate check. Old siding comes off and we inspect the sheathing underneath for rot or moisture damage before anything new goes up — this step catches problems that would otherwise get sealed in behind new siding.
- Weather barrier and flashing. The water-resistive barrier goes on continuous and correctly lapped, with flashing at every window, door, and penetration.
- Hardie panel or lap installation. Boards go up to manufacturer fastening and clearance specifications, with attention to South Hill's specific exposure conditions on that lot — shaded north faces get the same rigor as sun-exposed south faces, since damp-shade zones are actually the higher-risk areas.
- Trim, corners, and joint detailing. Every joint is back-flashed or properly lapped; trim is set to shed water away from the wall assembly.
- Caulking and touch-up. Cut edges are sealed, fastener heads are touched up to match the factory finish.
- Final walk-through. We review the finished work with the homeowner and point out anything they should watch for or maintain going forward.
Cost Factors for a South Hill Siding Project
Every home is different, but the variables that move the price on South Hill jobs specifically tend to be the ones below. We give firm numbers only after an in-person walk of the property.
| Factor | Why It Matters Here |
|---|---|
| Existing substrate condition | Shaded, damp lots on South Hill more often reveal sheathing repair needs once old siding comes off |
| Access and lot slope | Hillside lots can mean more setup, scaffolding, or material staging work than a flat in-town lot |
| Home size and wall complexity | More corners, dormers, and trim details mean more flashing and cut work |
| Siding profile chosen | Lap, panel, and shingle-style Hardie products carry different material and labor costs |
| Trim and accent scope | Full trim replacement adds cost but usually pays off in a cleaner, longer-lasting result |
| Tear-off and disposal | Volume and type of old siding material affects removal and hauling time |
Why a Crew That Already Works South Hill Matters
Siding installation isn't just a spec sheet — it's judgment calls made on-site, in real weather, on a real lot. A crew that's already worked South Hill knows, before they even start tear-off, that a shaded north wall on a hillside lot is going to behave differently than the same wall would on an open, sun-facing site across town. They know to expect longer drying windows after rain and to sequence work around it instead of rushing a step that needs to be dry. That local pattern-recognition is the difference between a crew executing a generic install and a crew building an assembly that's actually suited to the property in front of them.
It also matters for the boring-but-critical logistics: knowing realistic weather windows for this part of Whatcom County, understanding how a specific street's drainage or shade pattern affects a project timeline, and having already solved the access challenges that come with hillside lots.
Maintaining Your Siding After Installation
Correctly installed Hardie siding is low-maintenance, not no-maintenance. A short annual routine keeps it performing the way it's designed to:
- Rinse siding once or twice a year to clear moss spores, pollen, and salt residue before they build up
- Keep gutters clear so overflow doesn't run down the siding face repeatedly
- Trim back vegetation and tree limbs that keep sections of the wall shaded and damp
- Inspect caulking at trim joints and penetrations every year or two and touch up as needed
- Watch for any soft spots, staining, or gaps at the bottom edge near grade — these are the first places moisture problems show up
Signs an Existing South Hill Home May Need New Siding
If you're not sure whether you're looking at a maintenance issue or a replacement issue, a few signs point toward replacement: siding that stays visibly damp long after rain has stopped elsewhere on the house, paint or finish that keeps failing in the same spots no matter how often it's touched up, soft or spongy sections when pressed, persistent moss or mildew that returns within weeks of cleaning, and visible gaps or warping at seams and corners. Any one of these on its own might be a localized repair. Several together, especially clustered on a shaded or exposed elevation, usually means the underlying assembly has been letting moisture in for a while.
If you're weighing a siding project for a South Hill home, we're glad to come take a look and give you a straightforward, no-pressure estimate based on what your house actually needs — not a generic package. Reach out through the form below to get started.