 Bellingham Siding
 Why Birch Bay Siding Wears Differently Than Inland Bellingham
Birch Bay sits right on the water, and that changes what siding has to survive. A house a few miles inland in Bellingham deals with normal Whatcom County rain and gray winters. A house in Birch Bay deals with all of that plus salt-laden air coming off the water, wind that drives rain sideways into walls instead of straight down, and long stretches of damp shade that never fully dry out between storms. None of that is dramatic on its own. It's the accumulation over years that causes trouble — fasteners corroding faster than they should, caulk joints failing early, and moisture finding its way behind siding that looked fine from the driveway.
Repairing siding on a Birch Bay home isn't the same job as repairing siding on a dry, sheltered lot. The repair has to account for why the damage happened in the first place, not just patch the spot that's visibly failing.
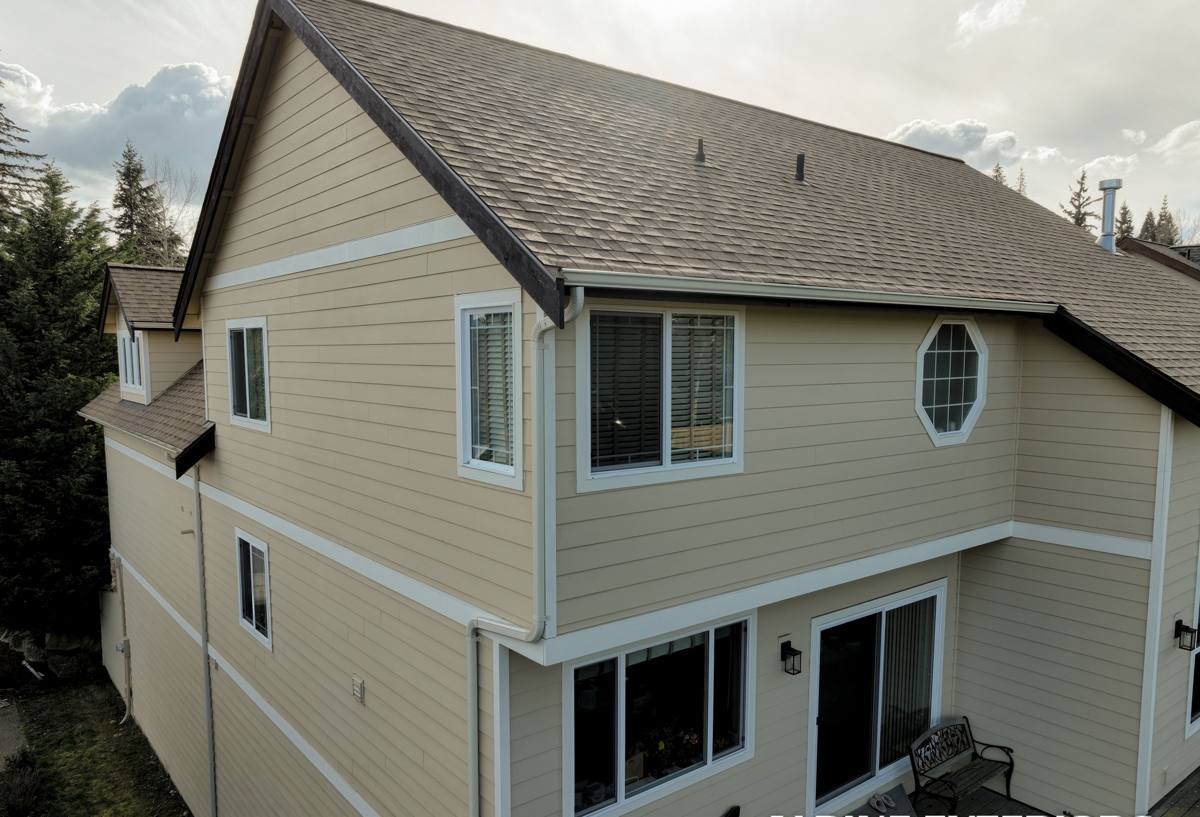
How Salt Air, Driving Rain, and Moss Actually Damage Siding
Salt Air
Airborne salt is corrosive to metal. Nails, screws, flashing, and trim fasteners exposed to coastal salt air corrode faster than the same hardware would inland. Once a fastener starts to corrode, it loses grip, siding panels can loosen, and the small gap that opens up becomes an entry point for water. Salt residue also builds up on painted and coated surfaces over time, which is part of why paint and factory finishes near the water tend to look tired sooner than the same product would a few miles inland.
Driving Rain
Bay-front and near-shore properties catch more wind-driven rain than sheltered inland lots. Regular rain falls mostly downward and sheds off a properly lapped wall. Wind-driven rain gets pushed sideways and upward, which puts stress on laps, butt joints, and any place two pieces of siding or trim meet. If those joints weren't sealed and lapped correctly during the original installation, wind-driven rain is what finds the mistake — sometimes years later, after moisture has already been working its way into the wall assembly.
Moss and Sustained Dampness
Whatcom County's wet season runs long, and shaded, north-facing, or tree-covered walls in Birch Bay can stay damp for days at a time. That's exactly the environment moss and algae need to take hold. Beyond the cosmetic green and black staining, sustained moisture sitting against siding softens caulk, degrades paint film, and — on materials that aren't dimensionally stable when wet — can contribute to swelling, cupping, or delamination over time.
Signs a Birch Bay Home Needs Siding Repair
Most siding failures don't announce themselves with a hole in the wall. They show up as small, easy-to-dismiss details. Worth checking for:
- Soft or spongy spots when you press on the siding near the bottom courses or around trim
- Visible gaps at lap joints, corners, or where siding meets windows and doors
- Streaking, bubbling, or peeling paint, especially on walls facing the water or prevailing wind
- Persistent moss or black algae staining that keeps returning after cleaning
- Rust streaks below nail heads or trim fasteners
- Warped, cupped, or separating panels, particularly on wood-based or engineered wood siding
- Interior clues — a musty smell, a discolored patch on an interior wall, or peeling interior paint on an exterior-facing wall
Any one of these by itself might be minor. Several together, especially on the side of the house that takes the worst weather, usually means water has already gotten past the surface.
What a Correct Siding Repair Actually Involves
A repair that only addresses the visible symptom tends to come back. A correct repair follows a sequence:
- Find the actual water path. Damage often shows up several inches or even feet from where water is actually entering the wall. Tracing it back to the real entry point — a bad lap, a missing flashing, a failed sealant joint — is the difference between a repair that lasts and one that doesn't.
- Open up and inspect what's underneath. That means checking the house wrap or building paper, the sheathing, and the framing behind the damaged siding for rot or ongoing moisture, not just replacing the visible board.
- Address the cause, not just the symptom. If corroded fasteners caused the failure, new fasteners need to be the right type for a coastal environment. If a lap or joint wasn't sealed correctly, it gets rebuilt correctly this time.
- Replace damaged material with a matching product, installed to spec. Lap, gap, and fastening details matter as much on a repair as on a full installation — a repair done to a lower standard than the surrounding wall just becomes the next failure point.
- Match the finish as closely as possible. Weathering, UV exposure, and salt air mean an older section of siding is rarely the exact same shade as a brand-new piece. A good repair minimizes the difference; it can't always erase it.
Repair Approaches by Situation
| Situation | Typical Approach | What to Watch For |
|---|---|---|
| Isolated panel damage (impact, one bad joint) | Cut out and replace the affected section, rebuild the lap and flashing correctly | Fastener corrosion at nearby panels — often more widespread than the one visible spot |
| Water damage traced to a window or door opening | Repair siding plus re-flash and reseal the opening itself | Sheathing rot behind the opening — the siding fix means nothing if the wall underneath is compromised |
| Chronic moss/algae staining without structural damage | Clean, treat, and address the moisture and shade conditions causing regrowth | Pressure washing damage if done too aggressively on softened material |
| Widespread fastener corrosion across one elevation | Broader section repair with corrosion-resistant fasteners throughout that wall | Spot-fixing one nail at a time when the whole elevation is due for the same failure |
| Repeated failure at the same wall despite past patches | Full assessment of drainage plane, flashing, and siding condition on that wall | A pattern of "fixing" the same spot every couple of years — a sign the real cause was never addressed |
Repair vs. Replace: How We Help You Decide
Not every damaged wall needs full replacement, and not every repair is worth doing if the siding is near the end of its useful life. The honest answer depends on a few factors:
| Factor | Leans Toward Repair | Leans Toward Replacement |
|---|---|---|
| Extent of damage | Isolated to one area or wall | Present on multiple elevations |
| Age of existing siding | Still well within its expected service life | Already near or past the end of its typical lifespan |
| Underlying sheathing/framing | Sound, dry, no rot found | Rot or sustained moisture found behind more than one section |
| Material match | Close color/profile match still achievable | Discontinued product or heavy weathering makes matching impractical |
| Repair history | First repair on this wall | Same wall has needed repeated repairs |
We'll always tell you honestly which side of that table your home falls on. A repair that's likely to fail again within a couple of years isn't a good use of your money, and we won't recommend one just to make a smaller sale.
What We Repair With
We install and repair with James Hardie fiber cement siding exclusively. We don't install LP SmartSide, vinyl, Cemplank, Allura, primed spruce, or cedar, and when a repair calls for new material, we use Hardie for a few reasons specific to a coastal Whatcom County environment. Fiber cement is non-combustible and dimensionally stable, meaning it doesn't swell, cup, or absorb moisture the way wood-based siding can when it's exposed to long wet seasons and salt air. Hardie's ColorPlus factory finish is baked on under controlled conditions, which holds up better against sun, rain, and salt exposure than field-applied paint, and it carries a stronger finish warranty as a result.
When we're repairing an existing Hardie wall, matching material and matching installation details is straightforward. When we're repairing a wall originally sided in a different product — including materials we don't install new — we'll do an honest, correctly executed repair using compatible technique, and we'll walk you through what a future full replacement in Hardie would look like if that product is nearing the end of its life.
Our Process for a Birch Bay Siding Repair
Every repair starts with a full inspection, not just a look at the spot you called about. We check the entire elevation that's showing damage, look for corrosion or gapping at nearby fasteners and joints, and if there's any sign water has gotten past the surface, we open up enough of the wall to see what's actually happening underneath before we quote anything. You get a straight explanation of what caused the damage, what needs to happen to fix it correctly, and what it would cost to do it right — not a quote for the cheapest visible patch.
From there, repair work follows the same lapping, fastening, and sealing standards we'd use on a new installation. We don't cut corners on a repair just because it's a smaller job than a full re-side — a repair done to a lower standard is just a future callback.
Why Local Experience in Birch Bay Matters
A crew that mostly works dry, sheltered lots inland doesn't automatically know what to look for on a bay-front wall. Knowing which elevations in a coastal community like Birch Bay typically take the worst wind-driven rain, which fastener types actually hold up against salt air over time, and how long moss tends to sit on a shaded wall before it starts affecting the material underneath — that comes from doing this work in this specific environment repeatedly, not from a general siding background. It also means we're not guessing about what "normal" wear looks like here versus what's an actual problem.
Maintaining Siding After a Repair
A correct repair should hold up, but a little seasonal attention extends its life further in a salt-air, high-moisture climate:
- Rinse salt residue and grime off exterior walls periodically, especially walls facing the water
- Keep gutters clear so runoff isn't sheeting down the siding face during heavy rain
- Trim back vegetation and tree cover that keeps a wall shaded and damp longer than necessary
- Address moss regrowth early with gentle cleaning rather than letting it sit for another wet season
- Have caulking and sealant at joints and trim checked periodically — it's a normal maintenance item, not a sign of a bad repair
- Walk the exterior after major windstorms to catch loosened panels or trim before the next rain event
If you're seeing signs of siding trouble on a Birch Bay home — or you just want an honest read on whether that stain or soft spot is cosmetic or something more — we're happy to take a look. Reach out for a free, no-pressure estimate using the form below.