 Bellingham Siding
 Building in Birch Bay Means Building for Salt Air and Wind-Driven Rain
Birch Bay sits right on the water, and that changes what a window install needs to survive. Homes here take on salt-laden air off the bay, wind-driven rain that hits walls sideways instead of falling straight down, and a wet season that runs long by Whatcom County standards. Add in the moss and algae growth that comes with months of shade and moisture, and you've got a set of conditions that will find every weak point in a window installation within a few winters — not decades.
For a new build, that's actually good news. You get to set the window up right from the first day, before drywall, siding, or trim cover up the parts that matter most. A retrofit has to work around what's already there. New construction doesn't — which is exactly why it's worth doing carefully.
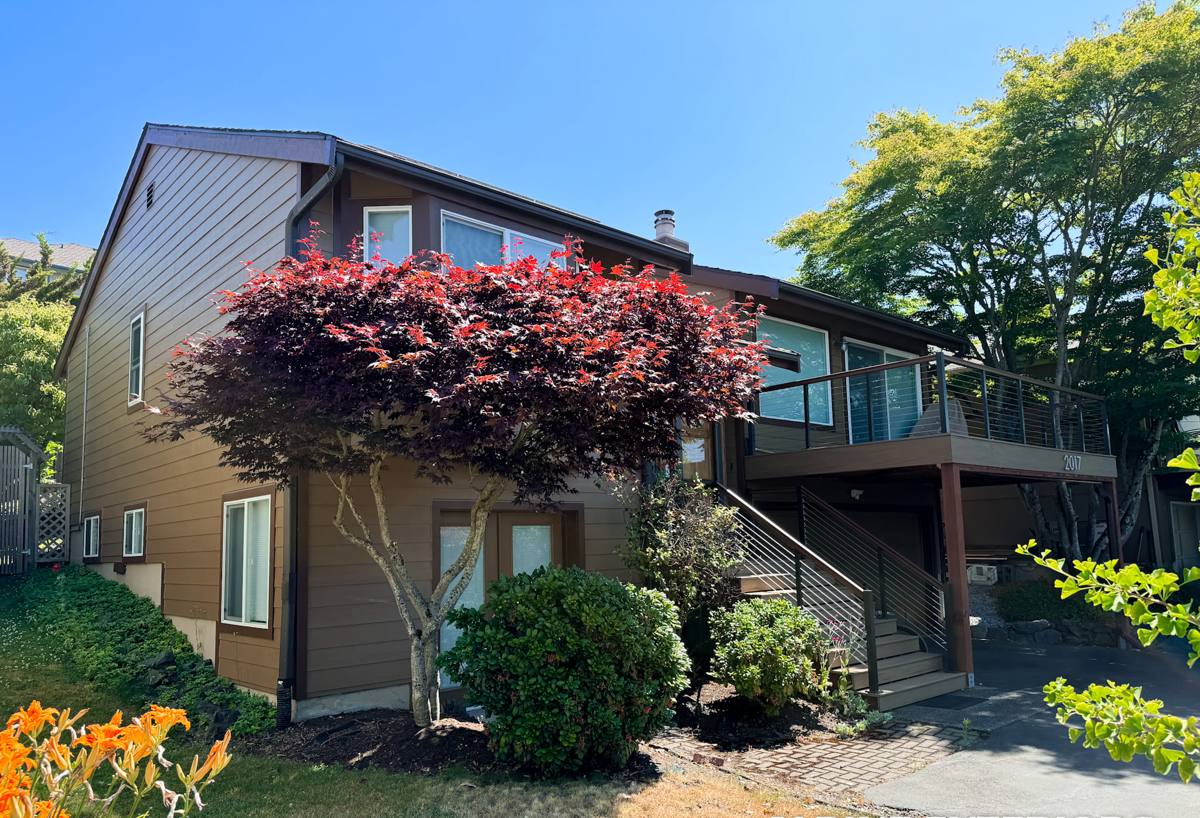
New Construction vs. Replacement: Why the Job Isn't the Same
People sometimes assume a window is a window, but a new-construction window and a replacement window are built and installed differently, and mixing them up costs money and callbacks.
- New-construction windows have a nailing fin around the frame that gets fastened directly to the wall sheathing, then integrated into the weather-resistive barrier (WRB) and flashing before siding goes on.
- Replacement (pocket) windows are sized to slide into an existing frame with no nailing fin exposed — they rely on the old frame and siding to do the water management work.
- Using the wrong type, or installing a new-construction window like a retrofit because the framing was rushed, is one of the most common causes of early leaks in coastal builds.
On a new home, we're working with your builder or framer during the rough-opening stage — checking that openings are square, level, and sized correctly before a single window goes in. Catching a framing issue at that stage takes an hour. Catching it after siding is on takes a lot longer.
The Flashing Sequence Is the Part That Actually Stops Leaks
Homeowners tend to focus on the window itself — brand, style, glass — but in a coastal climate like Birch Bay's, the flashing sequence around the window does more work than the window itself when it comes to keeping water out. A great window installed with the wrong flashing order will leak. An average window installed with correct flashing usually won't.
The sequence we follow, shift by shift, isn't unusual — it's the industry-standard "shingle" approach — but it has to be done in order and not skipped under schedule pressure:
- Sill pan flashing installed first, sloped so any water that gets past the window drains back out, not into the wall cavity.
- Window set into the opening, shimmed level and plumb, and fastened through the nailing fin per the manufacturer's pattern.
- Side flashing tape applied over the fins, then head flashing last, so every layer sheds water onto the layer below it — never the reverse.
- WRB (house wrap) integrated over the head flashing and taped so the whole assembly drains as one system, not a patchwork of separate pieces.
This is where wind-driven rain off the bay separates a properly built envelope from one that looks fine for a year or two and then doesn't. Reversed flashing or skipped sill pans don't usually show up as a leak on day one — they show up as rot inside a wall three or four winters later, which is a much bigger repair than doing it right the first time.
Choosing a Frame Material for Salt Air and Moss Season
Frame material matters more on the coast than it does further inland. Salt air accelerates corrosion on hardware and fasteners, and constant shade plus moisture feeds moss and algae growth on horizontal surfaces and sill areas. Here's how the common options hold up:
| Frame Material | Coastal Durability | Maintenance | Typical Cost |
|---|---|---|---|
| Vinyl | Good — won't rot or corrode; UV-stable options hold color | Low — occasional rinse to clear salt film and moss buildup | Lowest of the three |
| Fiberglass | Very good — dimensionally stable, resists warping in temperature swings | Low | Mid-to-upper range |
| Wood-clad | Fair to good depending on clad material — the wood interior needs the exterior clad seams to stay sealed | Higher — clad seams and any exposed wood need periodic inspection | Highest, especially with custom sizes |
We're not going to tell you wood-clad windows are a bad product — plenty of homeowners want that interior wood look and are willing to keep up with the maintenance. Our honest read for a Birch Bay build is that vinyl or fiberglass frames give you the best odds of a low-maintenance, long-service-life window given the site's exposure, and that's what we typically recommend when a homeowner doesn't have a strong preference otherwise.
Glass Packages Worth Paying For on This Site
Not every upgrade is worth it everywhere, but a few make real sense for a shoreline-adjacent Whatcom County build:
- Dual-pane, low-E glass is the baseline we'd install on any Bellingham-area new construction — it's standard practice at this point, not an upgrade.
- Argon-filled units add a modest efficiency bump for a small cost difference — worth it on most builds.
- Impact-resistant or laminated glass is worth discussing for windows facing open water directly, where wind-driven debris during storms is a real, if occasional, risk — not required everywhere on the property.
- Higher-performance low-E coatings matter more on west- and south-facing glass that takes direct sun and driving rain together.
We'll walk the plans with you and point out where an upgrade earns its keep versus where it's just added cost for a wall that faces away from the weather.
Our Process on a New-Construction Job
We coordinate with your builder rather than working in isolation, since window installation sits in the middle of the framing and siding schedule:
- Plan review and take-off — we confirm window sizes, swing directions, and egress requirements against the approved plans before ordering.
- Rough opening check — verified square, level, and correctly sized once framing is up, before we schedule delivery.
- Sill pan and flashing prep — done opening by opening, not batched at the end of the day.
- Window setting — leveled, shimmed, and fastened to manufacturer spec, with fastener spacing checked, not eyeballed.
- Flashing integration with the WRB — tied into house wrap so the whole wall assembly drains as one system.
- Final inspection — operation, seal, and flashing checked before siding crews close it up, because once siding's on, those layers aren't visible again.
What Correct Installation Looks Like — A Homeowner's Checklist
You don't need to inspect flashing tape yourself, but these are fair questions to ask any crew working on your new build, whether it's us or someone else:
- Is a sill pan being installed under every window, sloped to drain outward?
- Is flashing tape applied in the correct shingle order — sill, then jambs, then head?
- Are the windows shimmed level and plumb, not just fastened flush to the opening?
- Is the house wrap integrated over the head flashing, not just butted against it?
- Are fastener types and spacing matched to the window manufacturer's installation instructions?
- Will windows be inspected before siding goes on, while the flashing is still visible?
If a crew can't answer these clearly, that's worth pausing on before siding covers the evidence either way.
Timing It With Your Build Schedule
Windows typically go in once the home is framed and roofed, ahead of siding and interior insulation. In Whatcom County, weather windows can be tight during the wetter months, so we try to schedule window installation to avoid setting units in active rain whenever the build schedule allows it — sill pans and flashing tape adhere better and perform better long-term when they're not applied over standing water. We'll work with your builder's timeline, but we'll also tell you honestly if pushing installation by a few days for drier conditions is worth the wait.
Why Local Experience on Birch Bay Homes Matters
A crew that's worked other builds in Birch Bay and along the Bellingham shoreline already knows how exposed a given lot is, which orientations take the worst of the wind-driven rain, and where moss and algae tend to build up fastest on sills and trim. That's not something you learn from a spec sheet — it comes from having flashed and installed windows on homes dealing with the same salt air and driving rain your build will face. It also means we're not guessing at how local building department expectations line up with manufacturer installation requirements, which keeps inspections moving instead of causing delays.
If you're planning window installation for a new build in Birch Bay, we're happy to look at your plans and give you a straightforward estimate — no pressure, no upsell on glass packages you don't need. Fill out the form below and we'll get back to you to talk through the details.