 Bellingham Siding
 New-Construction Windows in Blaine: Getting the Opening Right the First Time
Blaine sits right on the water at the top of Whatcom County, which means new construction here deals with a combination most inland builders never have to think about: salt-laden air off Semiahmoo Bay and Boundary Bay, wind-driven rain that comes in sideways more often than straight down, and a wet season long enough to grow moss on anything that stays damp for more than a few days. When you're installing windows into a brand-new wall assembly, you get exactly one chance to build that opening correctly before siding, trim, and paint cover it up. A window that leaks in year three almost always traces back to something that happened during rough-in, not a defective unit.
This page is about new-construction window installation specifically — setting windows into new framing as part of a build, not swapping old units into an existing wall. It's a different job with different failure points, and it deserves its own process.
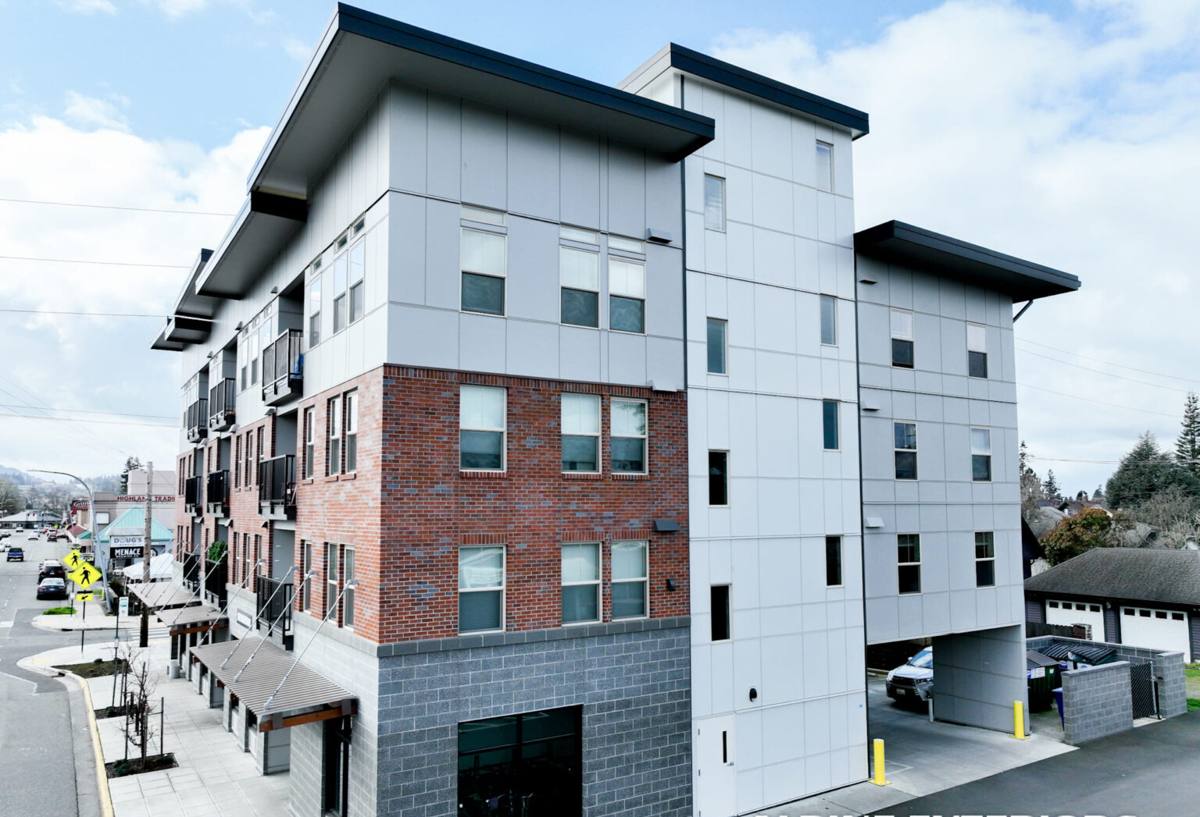
New Construction vs. Replacement: Why the Job Isn't the Same
Replacement windows get set into an existing, already-weatherproofed wall — the contractor is working around finished siding and trim that stays in place. New-construction windows go in before the exterior finish exists at all. That's a bigger job in some ways and a more forgiving one in others:
- The weather-resistive barrier (WRB) isn't installed yet, or is only partially lapped, which means the window has to be integrated into it in the correct shingle-style sequence rather than worked around.
- The nailing flange is exposed and structural to the install — new-construction windows are designed to be fastened directly to the sheathing through that flange, unlike replacement units that rely on the existing frame.
- There's no old caulk or trim to remove or guess about — but there's also no forgiveness for skipping a step, because everything gets buried under siding within days or weeks.
- Timing has to sync with the framer, the WRB installer, and the siding crew — a schedule miss here can hold up the whole exterior sequence.
Because the flashing and WRB details get covered permanently, mistakes made during new-construction window install are the hardest and most expensive to find later. That's exactly why the sequence matters more here than almost anywhere else in the build.
What Blaine's Climate Actually Demands from the Install
Salt Air and Corrosion
Homes near Drayton Harbor and Boundary Bay take on airborne salt that accelerates corrosion of unprotected metal fasteners, flashing, and hardware over time. That doesn't mean every material fails — it means fastener selection, flashing metal, and sealant compatibility all need to be chosen with a marine-influenced environment in mind, not just a generic Pacific Northwest one.
Wind-Driven, Sideways Rain
Blaine's exposure to weather coming off the Strait of Georgia means rain doesn't always fall straight down onto a windowsill — it gets pushed sideways and upward under eaves and against walls with real force. A window opening that would stay dry in a sheltered inland lot can take direct water pressure here, which makes sill pan flashing and proper head flashing overlap non-negotiable, not optional upgrades.
Extended Moss and Damp Season
Whatcom County's long wet stretch, roughly October through May, means anything that traps moisture around a window opening stays wet for months rather than days. Trapped moisture behind flashing or in a poorly sealed sill doesn't just risk a leak — it invites rot in the surrounding framing and sheathing long before anyone sees a stain on the interior wall.
Where New-Construction Window Failures Actually Start
In our experience, the window unit itself is rarely the problem. Leaks and rot around new-construction windows almost always trace back to one of these:
- No sill pan, or a sill pan installed after the window instead of before it. The sill pan is what gives any water that gets past the window a way out instead of a place to collect.
- WRB laps done in the wrong order. The house wrap or building paper has to shingle over the flashing at the head and under it at the sill — reversed laps funnel water directly into the wall.
- Flange nailed with the wrong fasteners or nailing pattern. Under-fastened flanges shift; over-driven fasteners crush the flange and break its seal.
- Head flashing skipped or installed without back-dam or end-dam details. This is the single most common gap we find, and it's invisible once siding goes on.
- Sealant used as a substitute for proper flashing sequence instead of as a backup to it. Caulk is a second line of defense — it should never be the only line.
Our New-Construction Window Process
We build every opening the same disciplined way, whether it's one window on an addition or a full house of them:
1. Rough Opening Check
We verify the opening is square, plumb, and sized correctly to the window's actual manufacturer specs before anything gets installed — not assumed from the plans.
2. Sill Pan Flashing
A sloped, sealed sill pan goes in first, built to shed any water that gets past the window to the exterior rather than into the framing.
3. WRB Integration
Housewrap or building paper is cut, lapped, and taped in the correct shingle sequence around the opening so water sheds downward and outward at every layer, jamb to head.
4. Window Set and Fasten
The unit is set level, plumb, and square, shimmed as needed, and fastened through the nailing flange per the manufacturer's specified pattern — this is what keeps the warranty intact and the window performing as designed.
5. Head Flashing with Back-Dam
Head flashing goes on last, over the top flange, integrated with the WRB above it so water is directed out and away from the top of the window rather than behind it.
6. Flange and Corner Sealing
Compatible sealant is applied at the flange edges and corners as a secondary barrier, not a primary one — we don't rely on caulk to do a flashing detail's job.
7. Documentation Before Cover-Up
Since these details disappear under siding, we photograph the flashing sequence at each opening before the exterior finish goes on, so there's a record of what's behind the wall.
Window Product Considerations for a Coastal Whatcom County Build
There's no single "best" window material — the right call depends on exposure, budget, and how the frame will be finished. Here's how the common options hold up for a Blaine build specifically:
| Frame Material | Salt-Air / Coastal Behavior | Maintenance | Typical Fit |
|---|---|---|---|
| Vinyl | Won't corrode; performs well in salt air; can expand/contract more with temperature swings | Low — no painting, occasional cleaning | Most budget-conscious new builds |
| Fiberglass | Excellent corrosion resistance and dimensional stability near the water | Low — durable finish, minimal upkeep | Homes wanting a longer-term, lower-maintenance upgrade |
| Wood-Clad | Exterior cladding protects the frame, but any breach in the cladding or seal exposes wood to moisture in a wet climate | Higher — finish and seals need monitoring over time | Homeowners prioritizing interior wood aesthetics who accept the upkeep tradeoff |
| Aluminum | Prone to corrosion in salt-influenced air unless properly coated and maintained | Moderate to high near the coast | Less common choice for direct waterfront exposure without added protection |
We'll talk through these tradeoffs against your specific lot and exposure rather than pushing one product line — the honest answer depends on how close you are to the water and how much long-term maintenance you want to take on.
Working With Your Builder or General Contractor
New-construction window install is a coordination job as much as a hands-on one. We work directly with framers, GCs, and WRB installers to slot into the build schedule at the right point — after sheathing and initial WRB is up, before siding starts. Showing up out of sequence, even by a day, can mean reworking someone else's completed step or leaving an opening exposed to weather longer than it should be. We build our schedule around the rest of the crew, not the other way around.
A Quick Checklist If You're Vetting a Window Crew for Your Build
- Do they install a sill pan on every opening, every time — not just on "problem" walls?
- Can they explain their WRB lap sequence without hesitating?
- Do they follow the manufacturer's specified fastening pattern for the nailing flange?
- Do they document flashing details before siding covers them?
- Have they worked in coastal Whatcom County conditions before, or only inland builds?
- Will they coordinate directly with your framer and siding crew on timing?
Why Local Experience in Blaine Specifically Matters
A crew that mostly works drier, more sheltered inland sites can do fine work and still underbuild a flashing detail for what Blaine's wind and rain actually deliver. We work new-construction openings across Whatcom County, including homes exposed to the salt air and driving rain off Semiahmoo and Boundary Bay, and we build every opening to handle that exposure as the default — not as an upgrade someone has to ask for. That's the difference between a window that's still performing quietly in fifteen years and one that starts showing staining or soft trim well before then.
If you're framing a new home or addition in Blaine and want the window openings done right from the start, we're happy to walk the plans with you and give you a straightforward, no-pressure estimate — just fill out the form below.