 Bellingham Siding
 Building New in Sehome? Get the Window Install Right the First Time
Sehome sits close enough to Bellingham Bay to catch salt-laden air off the water, and it gets the same driving rain and long wet winters as the rest of Whatcom County. New-construction windows are one of the few parts of a build where a mistake doesn't show up right away — it shows up two or three winters later as a soft spot in the sheathing or a stain creeping down the drywall under a sill. Getting it right the first time, while the wall is still open, is far cheaper than fixing it after the siding and interior finishes are in.
This page covers what a correct new-construction window install actually involves in this climate, what to expect from our process, and why it matters to work with a crew that's done this kind of install in Sehome before — not just somewhere in Western Washington.
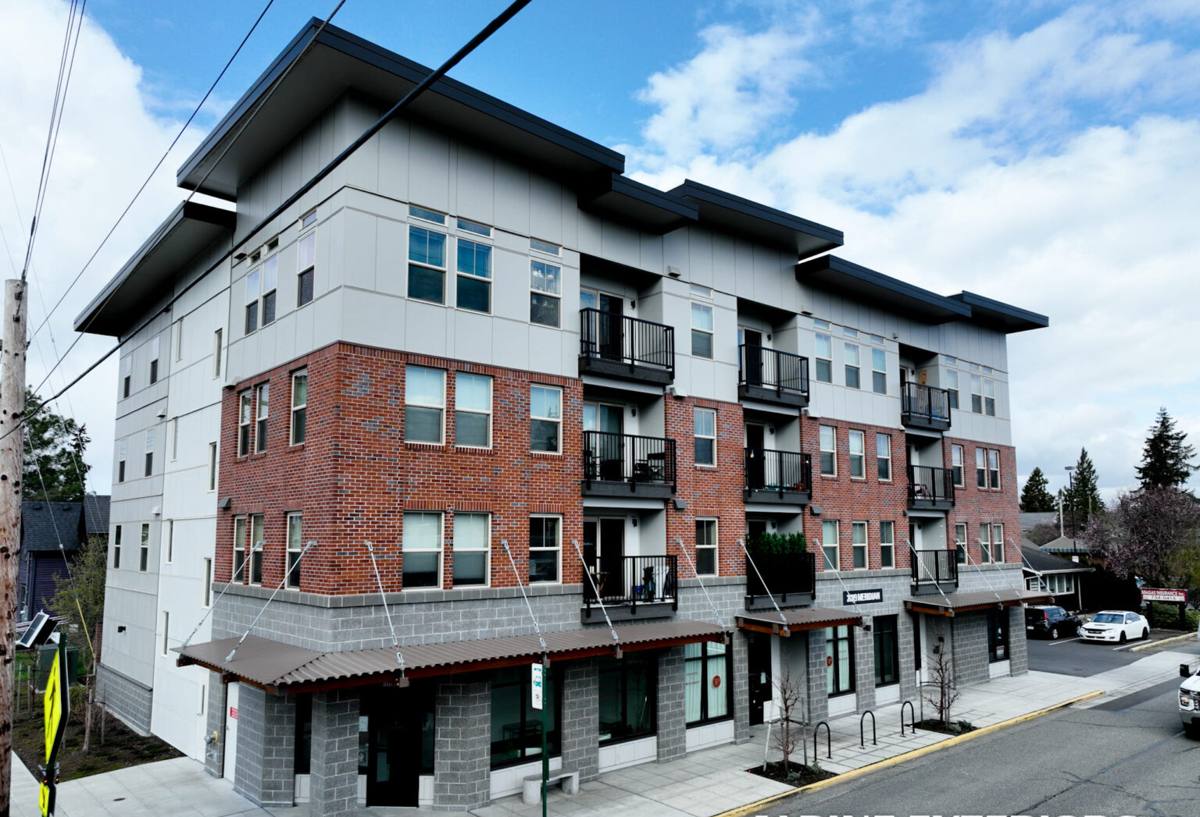
What Sehome's Climate Demands from a New-Construction Window Package
New-construction windows are installed into a raw, unfinished wall opening with a nailing flange, which means the window and the flashing around it become part of the building's water management system — not just a piece of glass in a hole. In a marine climate like Bellingham's, that system has to handle three things at once:
- Wind-driven rain: storms off the Strait and the Sound push rain sideways into wall assemblies, so head flashing and sill pans matter more here than in drier inland climates.
- Persistent moisture and moss growth: long stretches of damp weather keep siding and trim wet for days at a time, so any flashing detail that traps water instead of shedding it becomes a slow leak, not a fast one.
- Salt air: proximity to the bay accelerates corrosion on unprotected fasteners and lower-grade hardware, which is why flashing tape, fasteners, and window hardware all deserve a second look on builds near the water.
None of this requires exotic materials. It requires doing the ordinary steps — sill pan, flashing sequence, sealant placement, fastener choice — correctly and in the right order, every time.
Why New Construction Is Different from a Retrofit
On a retrofit or replacement job, we're working around existing siding and trim, often reusing the opening as-is. On new construction, the wall is open: we control the sill pan, the flashing layers, and how the window ties into the weather-resistive barrier (WRB) before any siding goes on. That's an advantage — it's the one point in a build where the water management detail can be done exactly right instead of patched around later. It also means the framing crew, the window installer, and the siding crew all need to be working off the same sequence, which is where a lot of new builds run into trouble when different trades aren't coordinated.
What a Correct New-Construction Window Install Involves
There's a specific order of operations that protects the wall long after we've left the job site. Skipping or reordering any of these steps is how leaks start.
- Rough opening check: confirm the opening is square, level, and sized correctly to the window unit's specified rough opening — not "close enough."
- Sill pan installation: a sloped or flashed sill pan that directs any water that gets past the window back outside the wall, not down into the framing.
- WRB integration: the weather-resistive barrier (housewrap or equivalent) is cut and lapped so water sheds over it in the correct shingle-style order — bottom, sides, then top.
- Window set and shim: the unit is set into the pan, shimmed plumb and square, and fastened per the manufacturer's schedule — not just at the corners.
- Flashing tape at jambs and head: side flashing laps over the sill pan, and head flashing laps over the side flashing and integrates with the WRB above the window — the reverse order lets water in.
- Sealant at the right points only: sealing the wrong joint (for example, fully sealing the bottom flange) traps water instead of letting it drain, which is a common mistake we specifically avoid.
- Interior air seal: a separate air-sealing pass at the interior side of the rough opening, distinct from the exterior water management, to control drafts and condensation.
Every one of these steps is inspectable while the wall is still open — which is exactly when we do our own quality check, before siding closes it up.
Choosing Window Products for a Marine Climate Build
Frame material, glazing package, and hardware all affect how a window holds up near the bay. We'll talk through the trade-offs for your specific build rather than push one product line, but here's the general shape of the decision:
| Factor | What to weigh in Sehome's climate |
|---|---|
| Frame material | Vinyl and fiberglass resist salt-air corrosion better than bare aluminum; wood-clad options need a well-maintained exterior cladding to avoid moisture intrusion at the cladding-to-glass joint. |
| Glazing | Double-pane, low-E glass is the baseline for this region's heating-season demands; argon fill and warm-edge spacers help with condensation resistance during damp, cold snaps. |
| Hardware and fasteners | Stainless or corrosion-resistant hardware is worth the modest upcost on builds within a few miles of the water, where salt air accelerates rust on standard-grade fasteners. |
| Flange type | Nail-fin (flange) units are the standard for new construction and integrate cleanly with the flashing sequence above; block-frame units are typically a retrofit product, not a new-construction one. |
| Warranty structure | Understand what's covered (glass seal failure, frame defects) versus what depends on correct installation — most manufacturer warranties are voided by improper flashing, which is a reason installation quality matters as much as the product line. |
We're happy to walk through specific manufacturer options once we know your build's layout, budget, and how much wall exposure the home has to prevailing weather.
Our Process on a Sehome New-Construction Job
1. Plan Review and Coordination
We look at the window schedule and rough opening sizes on the plans before framing is finalized, so there are no surprise mismatches once the crew shows up. If we're coordinating with your general contractor or framer, we confirm sequencing so windows go in at the right point relative to the WRB installation.
2. Pre-Install Walkthrough
Before setting any units, we check every rough opening for square, plumb, and correct dimensions, and flag anything that needs framing correction first. It's far cheaper to fix a framing issue now than after a window is set.
3. Installation, Step by Step
We follow the sill-pan-to-head-flashing sequence outlined above on every opening, not just the ones facing the weather. Homes get hit from more than one direction over the years, and a shortcut on a "protected" wall today often isn't protected once landscaping or siting changes.
4. Quality Check While the Wall Is Open
Before siding crews close up the wall, we do our own pass to confirm flashing laps, sealant placement, and fastening are correct. This is the point where issues are cheapest to catch — after siding goes on, most problems are hidden until they've already caused damage.
5. Handoff Documentation
We note window locations, model/series info, and any manufacturer warranty registration steps so you have a clear record for the life of the home.
Coordinating with Your Builder or GC
On a lot of new-construction jobs, we're one of several trades working the same walls in sequence — framers, WRB/housewrap crew, window installer, then siding. The biggest source of callbacks on new builds isn't bad materials, it's a handoff gap between trades: the WRB crew laps the wrap one way, the window goes in assuming a different lap order, and nobody catches it until there's a stain on the drywall. We coordinate directly with your general contractor or builder to confirm the sequence before we're on site, so our flashing integrates with what's already there instead of fighting it.
What to Check Before Hiring a New-Construction Window Crew
Whether you're comparing us to another contractor or just want to know what a solid bid looks like, here's what to ask about:
- Do they install a sill pan on every opening, or only "when needed"?
- Can they describe their flashing lap sequence without hesitation — sill, jamb, head, WRB integration?
- Do they inspect their own work before siding closes the wall, or is that on someone else?
- Are they familiar with manufacturer installation instructions for the specific window line being used, since warranty coverage often depends on following them exactly?
- Do they have experience coordinating with framers, WRB installers, and siding crews on the same job, rather than working in isolation?
- Will they walk you through frame material and hardware trade-offs for a home exposed to salt air and driving rain, rather than defaulting to whatever's cheapest?
A crew that's installed windows across Bellingham and Whatcom County long enough to have seen what goes wrong in this specific climate will have straightforward answers to all of these — not vague reassurances.
Why Local Experience in Sehome Matters
Sehome's mix of older established streets and newer infill construction means we've seen both categories of window install issues up close: older homes where a retrofit revealed decades of hidden flashing shortcuts, and new builds where a single skipped step turned into an early warranty claim. That local pattern recognition is worth more than a generic install checklist — it's the difference between a crew that follows steps and a crew that knows which steps this specific climate punishes hardest if they're skipped. Salt air, driving rain, and moss season don't forgive shortcuts, and a new-construction window install is the one chance to build the wall right before it's ever tested by weather.
If you're planning a new build or addition in Sehome and want a straight answer on your window package, framing sequence, or budget range, reach out for a free, no-pressure estimate — there's a form below to get started.