 Bellingham Siding
 Windows Built for Edgemoor's Waterfront Exposure
Edgemoor sits close enough to the water that its homes take on a different set of weathering conditions than houses a few miles inland in Bellingham. Salt-laden air off Bellingham Bay works on metal hardware and fasteners year-round. Driving rain, pushed sideways by wind off the water, tests every seam and sealant joint on a window unit. And the long, wet moss season that defines a Whatcom County winter keeps exterior trim and sills damp for months at a stretch. None of this is exotic — it's just the normal cost of living somewhere beautiful — but it does mean window installation here isn't a one-size-fits-all job.
A window that performs fine in a dry, sheltered subdivision can fail early in Edgemoor if it's installed without accounting for wind-driven moisture and corrosion-prone hardware. This page covers what that means in practice: what to watch for in an aging window, what a correctly installed replacement actually involves, and why a crew that already understands this specific stretch of coastline does a better job than one learning on your house.
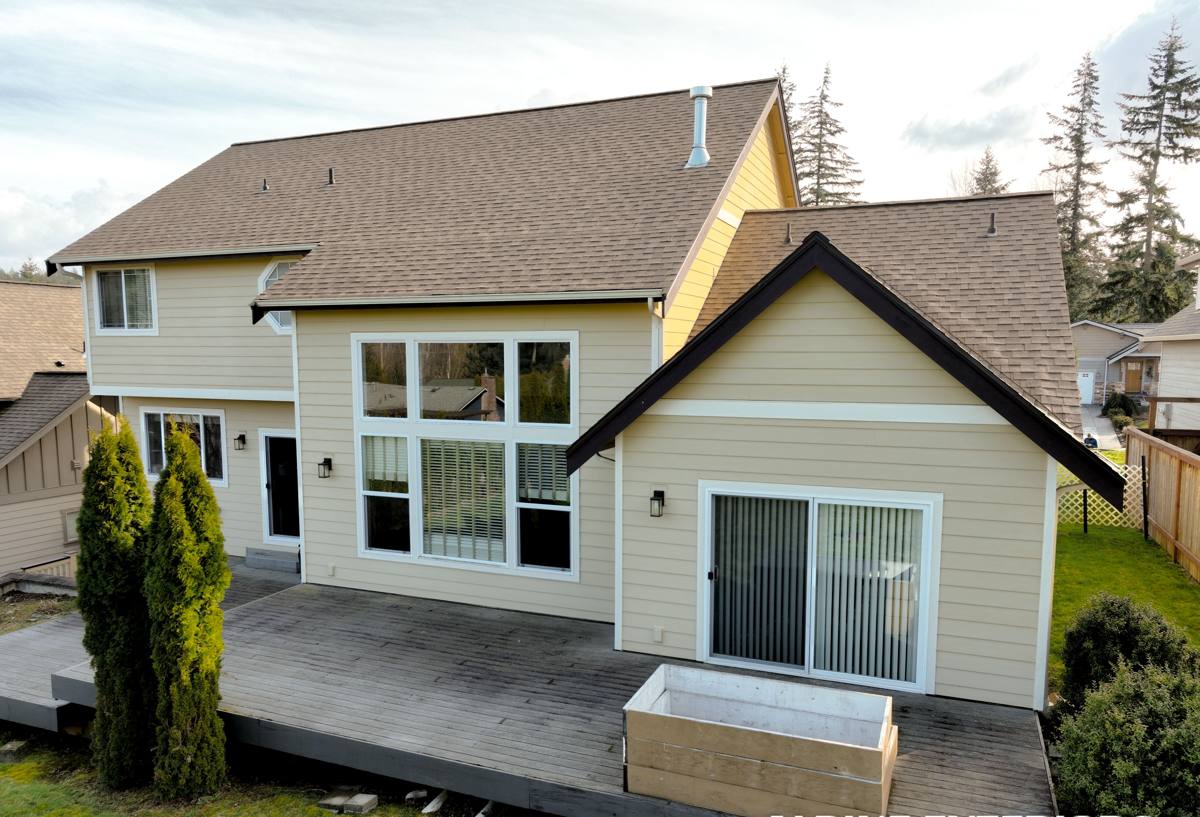
Signs an Edgemoor Home Needs Window Attention
Homes near the water tend to show window wear in a few consistent ways. Worth a look if you notice any of the following:
- Soft or discolored wood at the base of the window frame or on the sill, often a sign moisture has been sitting rather than draining
- Fogging or a permanent haze between panes on double-glazed units, meaning the seal has failed and the gas fill is gone
- Hardware — locks, hinges, cranks — that's stiff, pitted, or visibly corroded
- Drafts you can feel with a hand near the frame on a windy day
- Paint or finish that's bubbling or peeling specifically around the window opening, rather than the wall generally
- Visible moss or dark streaking building up on the sill or below the window on the siding
- Difficulty opening, closing, or locking a window that used to operate smoothly
Any one of these on its own isn't an emergency. Several together, especially soft wood plus fogged glass, usually means moisture has been getting behind the window for a while and it's worth having someone look before it spreads into the wall framing.
Why This Shows Up Faster Near the Water
Salt air accelerates corrosion on anything metal — screws, flashing, hinges, cladding fasteners. It doesn't matter how well a window performs on paper if the hardware holding it in place is degrading faster than it would a few miles inland. This is one of the biggest differences between installing windows in Edgemoor versus a drier, more sheltered part of the county, and it should influence both the materials chosen and how the installation is detailed.
What a Correct Window Installation Actually Involves
Window installation gets treated as a simple swap more often than it should be. The window unit itself is only part of the job — the flashing, the moisture barrier, and the sealant details around it are what determine whether the installation holds up through a wet Pacific Northwest winter or lets water in behind the siding.
The Non-Negotiables
- Proper flashing sequence — sill pan flashing installed first, then side flashing, then head flashing, layered so water sheds outward and down like shingles, never trapped behind the window
- Continuous sealant at the right points — not everywhere. Over-sealing a window (caulking the bottom flange, for example) traps water instead of letting it drain out
- A weep path — any water that does get past the outer seal needs somewhere to go. Blocked or missing weep holes are a common cause of hidden rot
- Correct fastener spacing and type — corrosion-resistant fasteners matter more here than in a dry inland install
- Insulation around the rough opening — gaps packed too tight or left empty both cause problems, one with performance, one with condensation
Skipping or rushing any of these doesn't usually cause an obvious problem on install day. It shows up eighteen months to five years later as rot, mold, or a failed seal — by which point the fix is a lot more involved than the original installation would have been.
Choosing the Right Window Material for This Location
Every window material has real trade-offs. None of them is "bad" — the right choice depends on how exposed your specific location is and how much upkeep you want to take on.
| Material | Salt Air / Moisture Behavior | Maintenance | Best Fit |
|---|---|---|---|
| Vinyl | Doesn't corrode; UV exposure over many years can affect color and rigidity | Low — occasional cleaning | Budget-conscious replacements, rental properties |
| Fiberglass | Very stable in moisture and temperature swings; holds paint well if color changes are wanted later | Low to moderate | Homes wanting durability without wood upkeep |
| Wood-clad (exterior aluminum or vinyl clad) | Cladding protects the wood from direct weather, but any breach in the seal lets moisture reach wood underneath | Moderate — watch cladding seams closely | Homes prioritizing interior wood appearance |
| Solid wood | Most vulnerable to sustained moisture and salt exposure without diligent upkeep | High — regular refinishing | Historic or architecturally specific homes where matching original material matters |
For a lot of Edgemoor homes, fiberglass or a well-detailed vinyl unit ends up being the practical choice simply because it removes ongoing maintenance from the equation in a climate that doesn't give exterior wood much of a break. That said, we install what fits the home and the owner's priorities — including wood and wood-clad options — and we'll walk through the honest trade-offs for your specific situation rather than pushing one product line.
Our Installation Process
1. Assessment
We look at the existing window, the surrounding wall assembly, and any visible signs of past moisture intrusion before quoting anything. If there's hidden rot, we'd rather find it during the estimate than mid-installation.
2. Removal Done Carefully
Old windows come out in a way that protects the rough opening and lets us actually inspect the sheathing and framing underneath — this is often the first real look anyone's had at that area in years.
3. Repair Before Replace
Any soft wood, damaged sheathing, or compromised weather barrier gets addressed before the new window goes in. Installing a new window over a hidden problem just hides it for a while longer.
4. Correct Flashing and Sealing
Sill pan, side flashing, head flashing, and sealant applied in the sequence that lets water shed outward, with weep paths left clear.
5. Insulation and Interior Finish
The gap between the window frame and rough opening gets insulated properly, and interior trim is reinstalled or replaced to match.
6. Final Check
We test operation, check the seal, and walk the installation with the homeowner before calling it finished.
Cost Factors for Edgemoor Window Projects
Every home is different, so we don't quote a flat number here — but these are the factors that most commonly move the price up or down on a real Edgemoor job:
| Factor | Effect on Cost |
|---|---|
| Number and size of windows | Largest single driver — bigger projects have better per-window efficiency |
| Hidden wood rot or sheathing damage found at removal | Adds repair cost, but far cheaper to fix now than after it spreads |
| Window material selected | Vinyl generally lowest upfront cost; fiberglass and wood-clad cost more but shift maintenance burden |
| Access and second-story vs. ground-floor units | Harder-to-reach windows take more labor time |
| Trim and interior finish work | Matching existing trim profiles or historic details adds time |
| Full-frame replacement vs. insert replacement | Full-frame costs more but is often the right call when flashing needs to be redone |
Why a Crew That Already Works Edgemoor Matters
Window installation isn't complicated in the abstract, but installing it correctly for a specific location takes knowing what that location throws at a building. A crew that mostly works dry, inland neighborhoods can do a technically fine installation and still miss the details that matter here — corrosion-resistant fastener choices, flashing details tuned for wind-driven rain, and recognizing early moss and moisture staining for what it is rather than treating it as cosmetic.
We work throughout Bellingham and Whatcom County, including the waterfront-adjacent neighborhoods where salt air and storm exposure are part of daily conditions, not an edge case. That means we're not guessing at how a window assembly will hold up here — we've seen what happens when it's done right and what happens when it isn't, and we build every installation around avoiding the second outcome.
A Straightforward Approach
We're not going to tell you every window needs replacing on a schedule, and we're not going to upsell a premium product line when a mid-range option genuinely fits your home and budget better. Our job is to give you an honest read on what your current windows are doing, what's actually needed, and what it will cost — then do the installation correctly so it holds up through Bellingham's wet seasons for years, not just through the first one.
If you're noticing drafts, fogged glass, soft trim, or just want a second opinion on windows that are getting old, we're happy to take a look. Reach out using the form below for a free, no-pressure estimate — we'll assess your home's specific exposure and give you a straight answer on what it needs.