 Bellingham Siding
 Window Installation Built for Whatcom County Weather
Lynden sits inland from Bellingham Bay, but it doesn't escape what the rest of Whatcom County deals with every winter: driving rain that comes in sideways, long stretches of damp gray weather, and a moss season that seems to start earlier every year. Homes closer to the water pick up salt-laden air off the Sound, and even a few miles inland that moisture-heavy marine climate still finds its way into window seals, sills, and frames. Windows here don't fail because they're old in the way a window in Arizona fails. They fail because water got somewhere it shouldn't have, and nobody caught it until the trim was soft and the wall behind it was worse.
That's the whole case for window installation done right the first time. A window is a hole cut into your wall's weather barrier. Everything about a correct install is about closing that hole back up so water, wind, and moist air can't use it as a shortcut into your framing. Get that wrong and you won't see it for a year or two — by then it's not a window problem anymore, it's a rot problem.
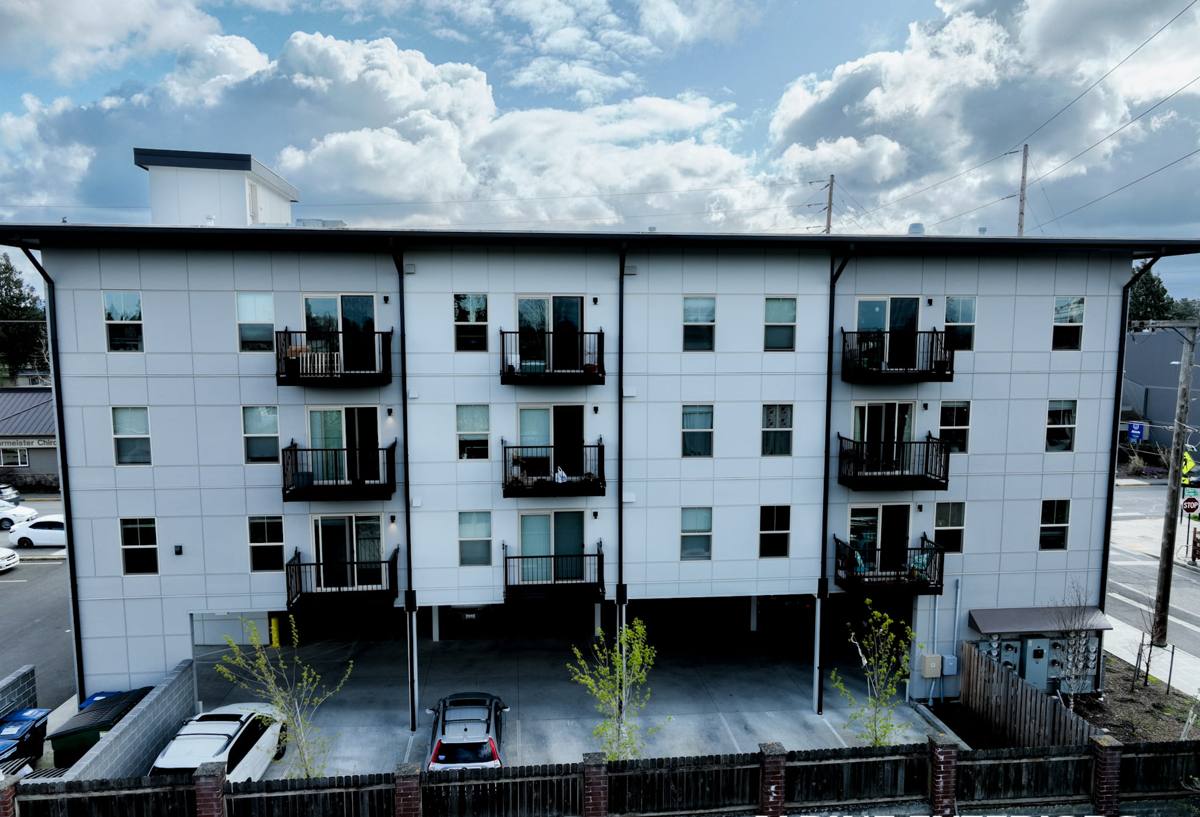
Signs Your Current Windows Are Losing the Fight
Most homeowners don't call about windows until something is obviously wrong. By that point the damage is usually further along than it looks from inside the house. Here's what we look for, and what you can check yourself before you ever need us out:
- Fogging or a permanent haze between the panes — the seal on the insulated glass unit has failed and moist air is trapped inside
- Soft or discolored wood trim around the frame, especially at the bottom corners where water pools
- Visible daylight or a draft you can feel with your hand along the sash when it's closed
- Windows that are hard to open, stick, or won't stay up without a prop
- Paint that's bubbling or peeling specifically around the window, not the whole wall
- A musty smell near a window that doesn't go away with cleaning
- Visible moss or black staining building up on the exterior sill or casing
Any one of these on its own might just mean a window is due for attention. Two or three together, especially soft wood plus fogging, usually means water has been getting behind the window for a while.
What a Correct Window Installation Actually Involves
Setting a window into an opening looks simple from the outside — level it, screw it in, caulk the edge. That approach is exactly how you end up with a leak that shows up eighteen months later. A proper install is really a sequence of overlapping weather barriers, each one shedding water onto the layer below it, the same principle roofers use with shingles.
The layers that matter
Before the new window ever goes in, the opening gets inspected for existing water damage or rot — no point installing a good window into a bad opening. Then flashing goes in at the sill first, sloped so any water that gets past the window drains back out, not into the wall cavity. The window unit gets set, shimmed level and plumb, and fastened per the manufacturer's schedule — not just at the corners. Side and head flashing goes over the nailing fin in the correct shingle-lap order so water moving down the wall sheds over each layer rather than behind it. Backer rod and a quality exterior sealant close the joint between the window and the siding. Inside, the gap between the frame and the rough opening gets insulated — not stuffed solid, which can bow the frame, but filled enough to stop air movement.
Skip or rush any one of those steps and the window can look perfect for years while quietly letting water into the wall. That's the part a homeowner usually can't judge just by looking at the finished job, which is exactly why who does the install matters more than which window brand you picked.
Choosing a Frame Material for a Whatcom County Home
There's no single "best" window material — there's a best fit for your home, your budget, and how much upkeep you're willing to do. Here's how the common options actually compare for a marine, moss-prone climate like ours:
| Frame Material | How It Handles Our Climate | Maintenance | Typical Lifespan |
|---|---|---|---|
| Vinyl | Doesn't rot or corrode; handles moisture well; can expand/contract with temperature swings | Low — occasional cleaning | 20–30+ years |
| Fiberglass | Very stable dimensionally, strong moisture and UV resistance, holds paint well | Low | 30–40+ years |
| Wood-clad | Attractive, but the interior wood core is vulnerable if the exterior cladding or seals fail | Higher — watch seals and finish | Varies widely with maintenance |
| Aluminum | Strong but conducts heat and cold readily; can condense moisture without a thermal break | Low to moderate | 20–30 years |
For most Lynden and greater Bellingham homes, vinyl and fiberglass are the workhorses — they shrug off the moisture load without demanding constant upkeep. Wood-clad windows can still be the right call for a specific architectural look, but we're upfront that they carry a higher maintenance burden in this climate, since any breach in the cladding or seal exposes the wood core to the same rain and humidity that's hard on everything else out here.
Our Process, Start to Finish
- On-site assessment: We look at every window being discussed, check the surrounding trim and sheathing for existing moisture damage, and take real measurements — not estimates off a photo.
- Straightforward proposal: You get a written scope covering exact window specs, flashing details, and what's included, so there's no ambiguity about what "installed" means.
- Opening prep: Old windows come out carefully, and we address any rot or damage found before the new unit goes anywhere near the opening. This is the step that gets skipped on rushed jobs, and it's the one that matters most long-term.
- Flashing and set: Sill pan and flashing first, window shimmed and fastened correctly, side and head flashing layered in proper order.
- Seal and finish: Exterior sealant, interior air sealing, and trim work matched to your home's existing finish.
- Walkthrough: We check every window operates smoothly and walk the job with you before we call it done.
Mistakes We Routinely Find on Older Installs
When we're called out to look at a leaking or drafty window, we can usually tell within a few minutes whether the original install was the problem. A few patterns show up over and over:
- Caulk used as the only line of defense, with no flashing behind it — caulk is a backup, not a system
- Flashing installed in the wrong order, so water gets funneled behind the siding instead of over it
- Windows fastened only at the corners instead of the full schedule the manufacturer specifies
- Rot in the framing that was covered over with new trim instead of repaired
- Insulation gaps packed too tightly, bowing the frame and causing the sash to bind
None of this reflects on any particular window product — a good window installed against a proper weather barrier system will outperform an excellent window installed carelessly. That's why we treat the install itself, not just the product spec sheet, as the thing that determines whether you'll have a problem in three years.
What Affects the Cost of a Window Project
Every home and every job is different, so exact numbers depend on a walkthrough, but these are the main factors that move the price up or down:
| Factor | Why It Matters |
|---|---|
| Number of windows | Per-window cost typically drops as the job size grows |
| Frame material | Vinyl is generally the most budget-friendly; fiberglass and wood-clad cost more |
| Existing damage | Rot or water damage found during removal adds repair time before the new window can go in |
| Opening size and type | Custom shapes, large picture windows, or unusual openings take more labor than standard sizes |
| New construction vs. retrofit | Retrofit into an existing opening is usually simpler than reframing for a size or style change |
| Trim and finish work | Matching existing interior/exterior trim adds time versus a standard finish |
We'd rather walk your home and give you real numbers than throw out a broad range that doesn't mean much once we see the actual conditions.
Retrofit Replacement vs. New Construction Windows
There are two different approaches to putting a window in an existing wall, and mixing them up leads to either a bad fit or unnecessary cost.
Retrofit (insert) replacement
The new window is sized to fit inside the existing frame, which stays in the wall. This is faster, less invasive to your siding and interior trim, and usually the right call when the existing frame is still sound.
New construction (full-frame) replacement
The opening is stripped down to the rough framing and rebuilt from scratch, including new flashing tied into the wall's weather barrier. This is more work and more cost, but it's the right call when there's rot to address, when you're changing the window size or style, or when the existing frame's flashing was never done correctly in the first place.
Part of our job during the assessment is telling you honestly which approach your home actually needs — not defaulting to the faster, cheaper option if it means papering over a problem that's going to resurface.
Why a Crew That Already Works Lynden and Whatcom County Makes a Difference
Window installation isn't exotic work, but the details that keep a window watertight are climate-specific. A crew that mostly works dry-climate installs isn't necessarily thinking about sill pan flashing the same way, because where they work, a missed detail doesn't get tested by six months of rain a year. Out here, it gets tested constantly. Knowing how Whatcom County's rain and humidity actually behave against a wall — where water pools, which orientations take the worst weather, how quickly moss and moisture build up on a north-facing sill — shapes decisions on every job, from flashing sequence to sealant choice.
Being local also means we're not disappearing after the invoice clears. If a question comes up after the install, we're a short drive away, not a call center. That accountability tends to show in the work itself.
Caring for New Windows After Install
A correctly installed window is low-maintenance, not no-maintenance. A little attention keeps it performing for decades:
- Clean tracks and weep holes periodically so debris and moss don't block drainage
- Check exterior caulking annually, especially after a hard winter, and touch up if it's cracked or pulling away
- Keep gutters and downspouts clear so roof runoff isn't dumping extra water onto window heads
- Trim back vegetation that holds moisture against the exterior trim
- Operate each window through its full range a few times a year so hardware doesn't seize up
If you're seeing drafts, fogging, sticking sashes, or soft trim around your windows, or you're planning ahead for a remodel, we're glad to come take a look. A free, no-pressure estimate gets you a clear picture of what your windows actually need — no obligation, no pressure, just a straight answer. The form below is the easiest way to get started.